2.1.3.6 Lab – Setting Up a Virtualized Server Environment Answers
Objectives
- Part 1: Prepare a Computer for Virtualization Environment by Installing VirtualBox
- Part 2: Install I2IoT Server Virtual Machine (VM) in VirtualBox
- Part 3: Access I2IoT Server VM
- Part 4: Basic Navigation in CentOS 7
Background
Computing power and resources have increased tremendously over the last 5 to 10 years. One of the benefits of having access to multicore processors and large amounts of RAM is the ability to use virtualization software to share resources. With virtualization, a user can run multiple virtual computers on one physical computer thus optimizing resource utilization.
Virtual computers that run within a physical computer are called virtual machines (VM). VMs run in an isolated environment and the activity in one VM is isolated from the activity in other VMs. The state of a VM can be saved and restored allowing one to return to a previous computing environment. VMs can be easily created, copied, and shared making then excellent tools for experimentation and prototyping.
Today, organizations use virtualized environments to host large numbers of VMs to serve the computing needs of their users. On a personal computer level, anyone with a modern computer and operating system has also the ability to run a few VMs from the desktop.
Scenario
In future labs, we will use the I2IoT server to learn basic computer application programming with Python. The I2IoT server is a VM hosted in a virtualization environment. A few products provide virtualization on a personal computer. For the I2IoT course, Oracle VirtualBox, a free access product, is used for the virtualized environment. In this lab, the process of downloading and installing VirtualBox will be covered. The process of adding the I2IoT server VM into the VirtualBox follows.
Required Resources
- A modern personal computer with sufficient RAM and with internet access.
- VirtualBox and I2IoT server are provided as downloaded images.
Instructions
Part 1: Prepare a Computer for Virtualization Environment
In Part 1, you will download and install the virtualization software VirtualBox, a free product from Oracle.
Step 1: Download VirtualBox.
a. Check the RAM on your computer. It is highly recommended that 4 GB+ RAM is installed.
b. Open a web browser and visit the VirtualBox download site https://www.virtualbox.org/wiki/Downloads
c. Select the package that works with your computer operating system and download the package.
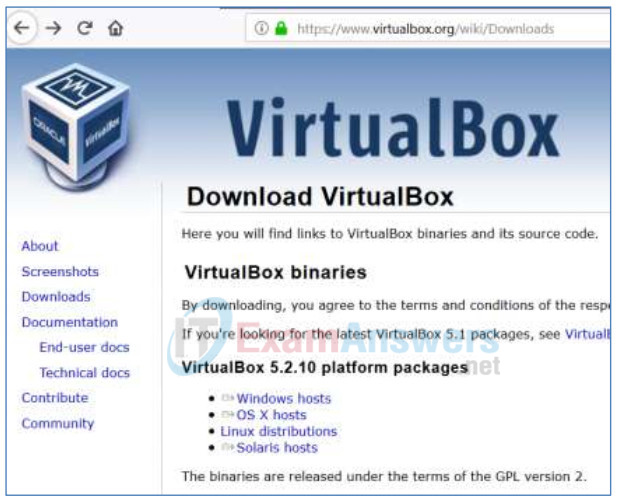
d. You may download the extension pack, which provides support for USB 2.0 and USB 3.0 devices, VirtualBox RDP, disk encryption, NVMe and PXE boot for Intel cards.

Step 2: Install VirtualBox
a. Use a normal installation method to install the VirtualBox on your computer.
b. For Windows, double-click the downloaded exe file to install VirtualBox.
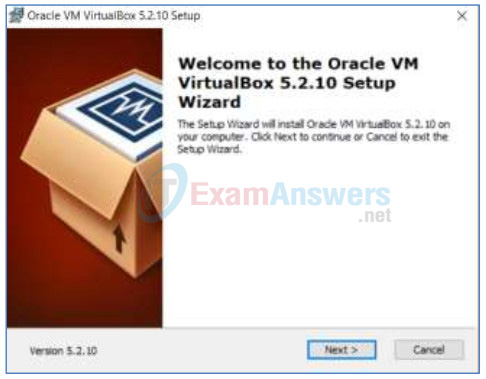
c. Click Next
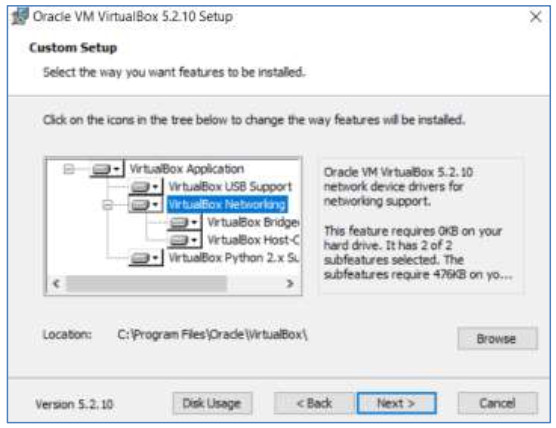
d. Click Next
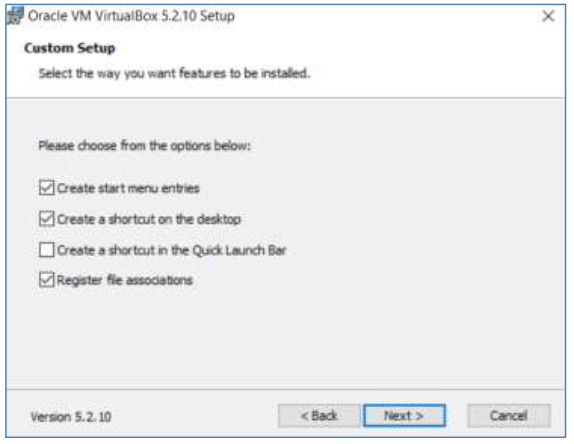
e. Click Next
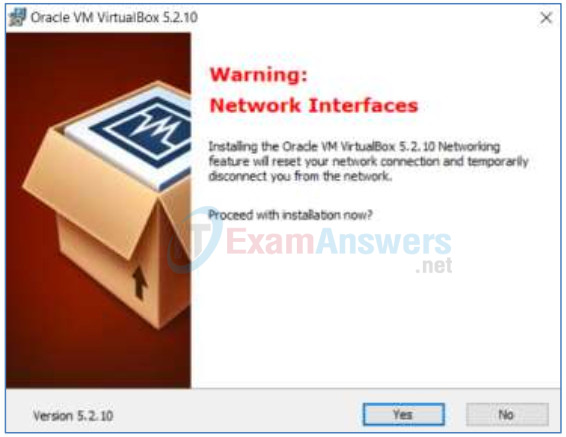
f. Click Yes
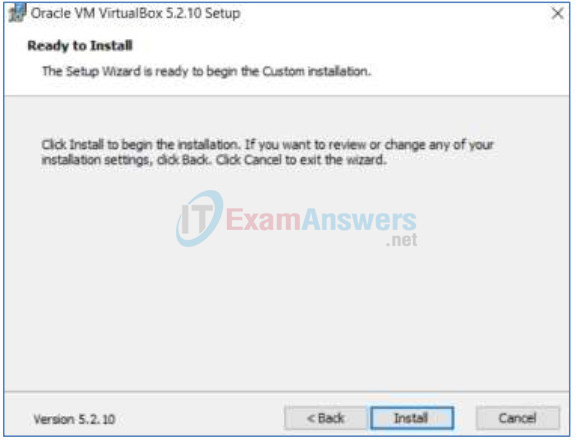
g. Click Install. The installation will start.
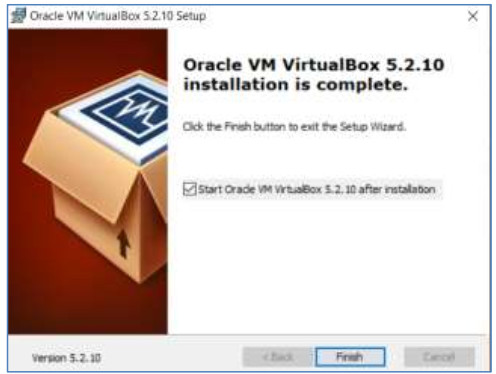
h. When the installation is complete. Click Finish to continue.
i. If you have also downloaded the extension package, you can install it by double-clicking the extension package
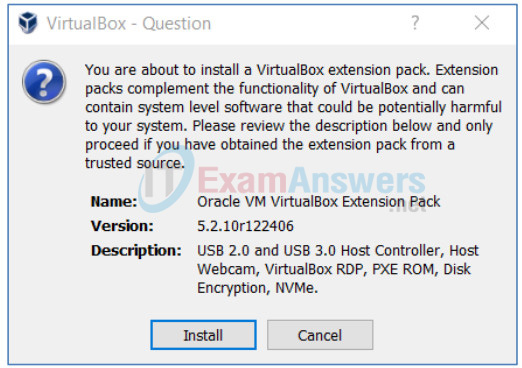
j. Click Install
k. A window about the VirtualBox license appears. Scroll down to the bottom and click the I Agree button.
Part 2: Install I2IoT Server Virtual Machine (VM) in VirtualBox
In Part 2, you download and install the I2IoT server VM into the virtualized environment of VirtualBox.
Step 1: Use Download I2IoT server VM package.
The I2IoT server is packaged and distributed as an .ova file. An OVA file is an Open Virtualization Appliance used by virtualization applications such as VMware Workstation and Oracle VM Virtualbox. It contains a compressed version of a virtual machine that can be imported into a supported virtualization environment.
a. Open a web browser and either download the course Virtual Machine OVA file from the curriculum page or visit the URL:
https://course-dl-prod.s3.amazonaws.com/I2IoT20/I2IoT_v20.ova.
or: https://drive.google.com/file/d/1BSlvXkei5TmLxmhB7ggShfACL_I5U_5j/view?usp=sharing
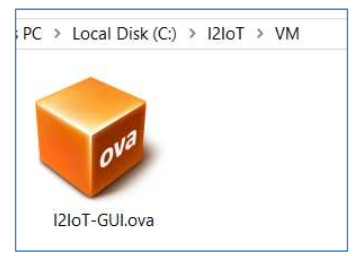
b. Copy or move the downloaded file to a location easy to remember, for example, C:\I2IoT\VM
Step 2: Import I2IoT VM into VirtualBox
a. Double click the I2IoT-GUI.ova icon
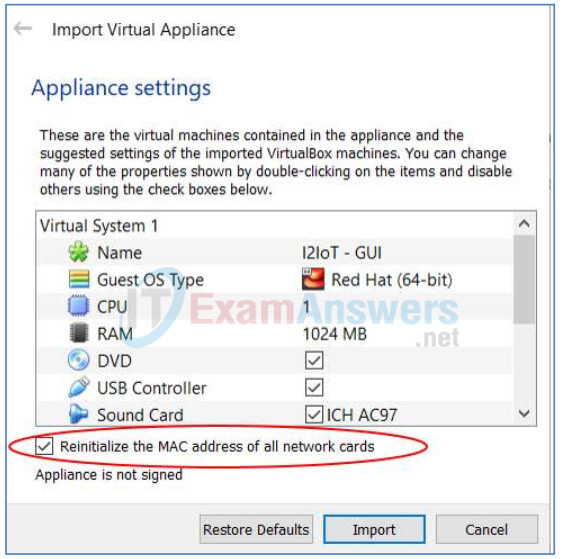
b. Check the option Reinitialize the MAC address of all network cards and click Import.
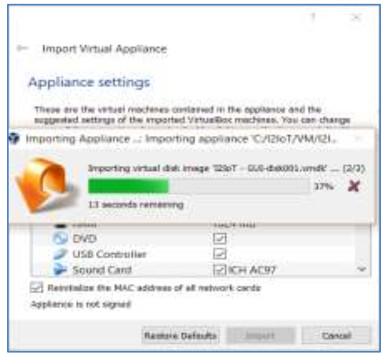
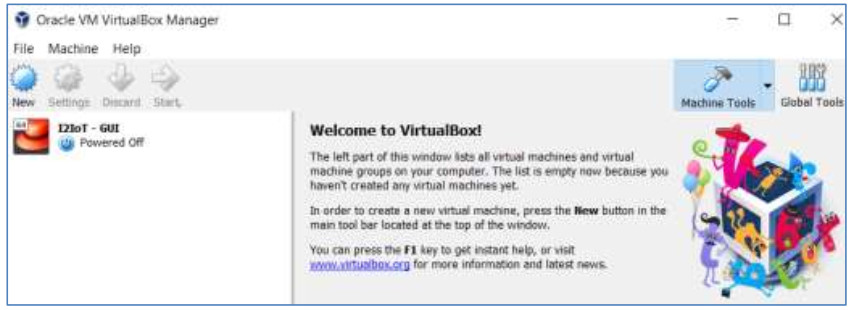
c. After the import is complete, a welcome message will appear. Notice that the I2IoT VM is on the left pane of VirtualBox with the status Powered Off.
Part 3: Access I2IoT Server VM
In Part 3, you will perform initial configuration for the VM, power on the VM, and access it with a valid account.
Step 1: Make initial configurations.
a. Highlight the VM by clicking the VM icon on the left pane.
b. Click Settings
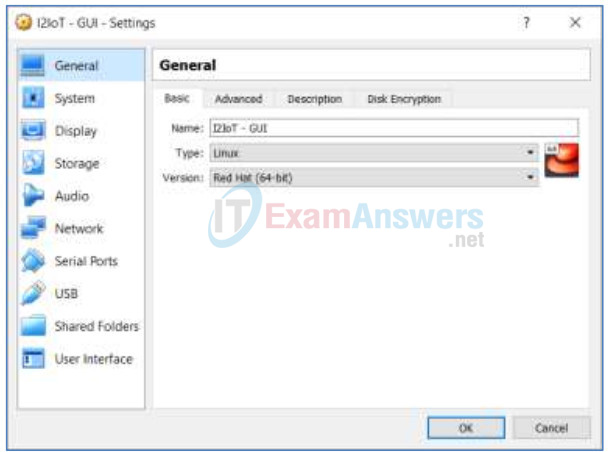
c. Click on items on the left pane and explore the current settings for the VM.
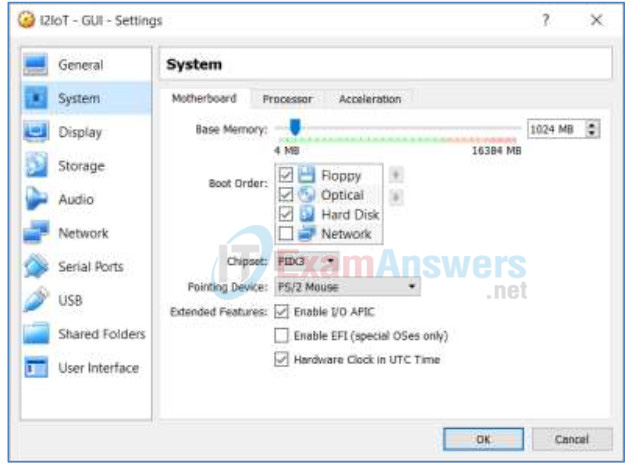
d. Click System option. Under the Motherboard tab, it contains the options for RAM usage (Base Memory) and Boot Order. You can adjust the RAM size. The more RAM you assign to the VM, the better performance (in theory) the VM can be expected. However, since the VM consumes the actual RAM on the host computer (your PC), lack of enough RAM available to the host computer operating system would affect performance of the VM.
e. Click OK to close the Settings.
Step 2: Power on the VM
a. Click Start to power on the VM
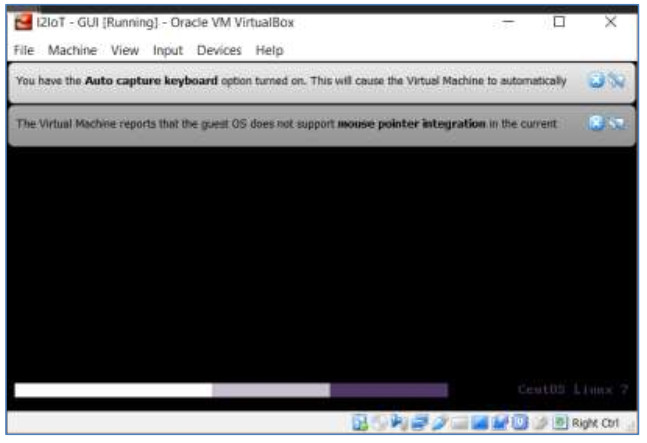
b. Once the VM is powered on, the Login window appears
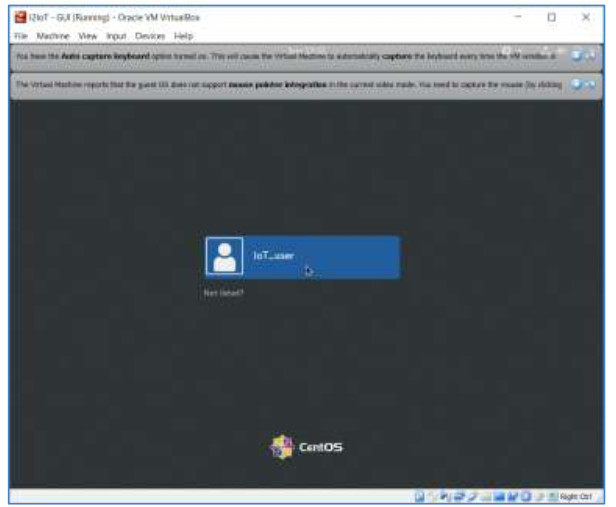
c. Read the two warning messages. You can close the messages by clicking the X icon.
d. Click in the screen. A message about mouse operation appears:
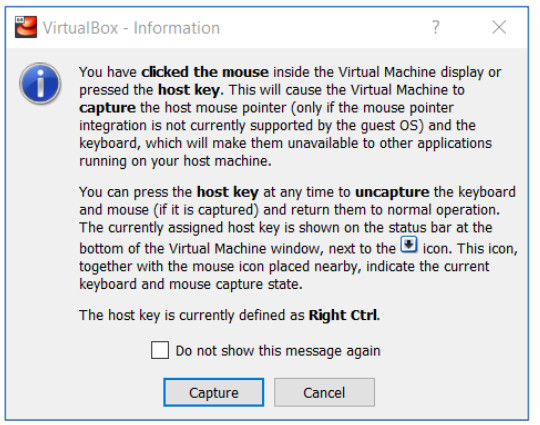
You need to click Capture to continue. If you do not want to see the message again, you can check the box “Do not show this message again” before you click Capture. According to the message, any time you click on the VM screen, the VM will capture the mouse pointer, which means that the mouse movement is within the VM screen. To return the mouse pointer to the host computer, you can press the Host key, which by default, is defined as Right Ctrl.
f. The VM has enabled the screen saver feature. If the VM is idle for 5 minutes, the window will be occupied with the following image.
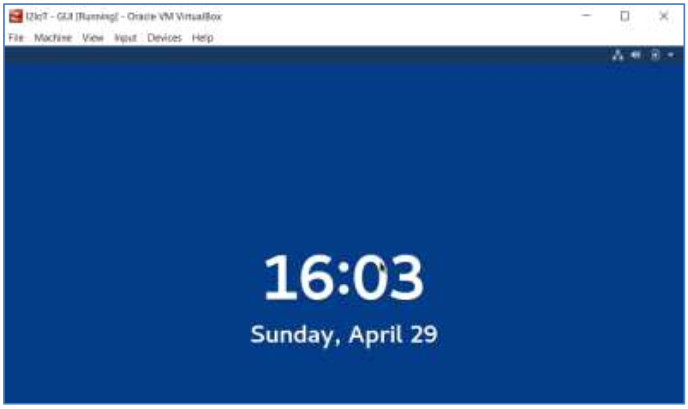
g. To get into the working screen, click in the window and move the mouse pointer upward while holding the left button. The login screen is shown under Step b above.
h. The default username is IoT_user with no password. Click the blue bar “IoT_user” in the middle of the screen to log in to the VM.
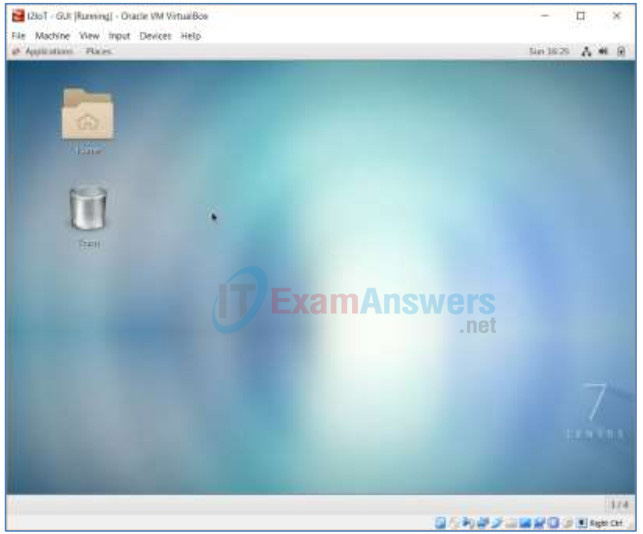
i. As you can see, the VM is running CentOS 7, an open source Linux distribution.
Part 4: Basic Navigation in CentOS 7
In Part 4, a few basic navigation tools in CentOS will be covered.
a. To test the network connection, click Application -> Firefox ->, then type in www.google.com or any website you choose. The web page should display:

b. If the website cannot be connected, troubleshoot by making sure that the host computer can access the same website.
c. To access the command line interface (CLI), click Application -> Terminal:

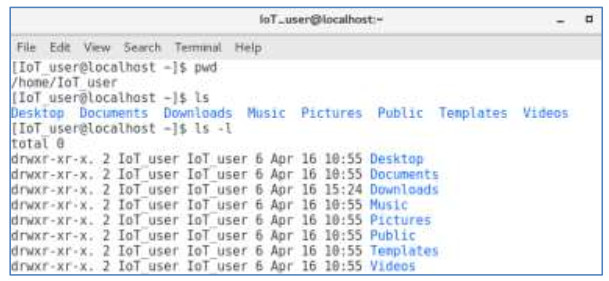
d. Use the pwd command to display the current directory:

e. Use the ls command to show the list of contents in the current directory. The use of the ls command with –l option will display detail information about the contents.
f. We will use the VM to learn programming with Python3. To check the version of Python installed on the VM, issue the python –version command:

g. To exit the Terminal window, use the exit command.
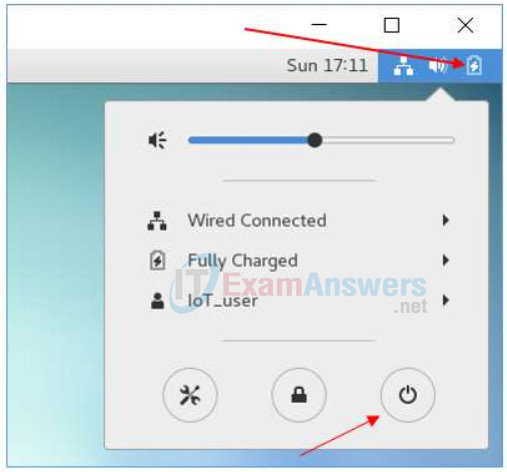
h. To shut down the VM, click the battery icon at the upper right corner, then the power button, and then choose “power off”
