6.3.1.4 Lab – Working With IFTTT and Google Accounts (Instructor Version)
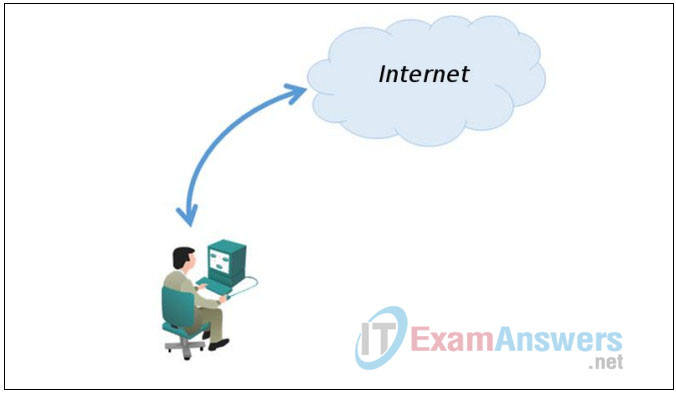
Topology
Objectives
- Set up a Google account
- Set up an IFTTT account
Background / Scenario
IFTTT is a public web service that enables creative control and automated interactions between various cloud-based services like Twitter, Instagram, Facebook, Dropbox, Webex Teams, etc. The interactions are defined in IFTTT using small scripts called recipes – as simple as “if” something happens, “then” trigger some action.
This lab will walk you through the process to set up Google and IFTTT accounts. These accounts will be used in a later lab activity.
Required Resources
- PC with Internet Access
Part 1: Set up a Google user account
Step 1: Register a free user account at Google
a. Browse to http://google.com
b. Click the Sign in button in the upper right corner of the browser window.
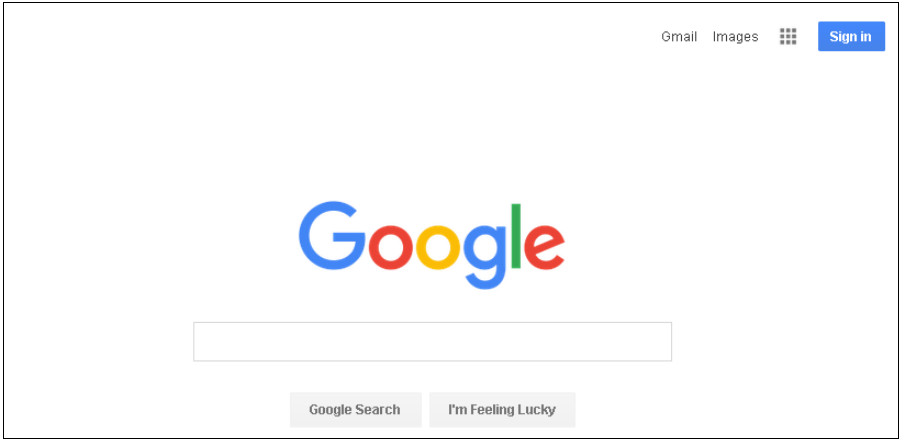
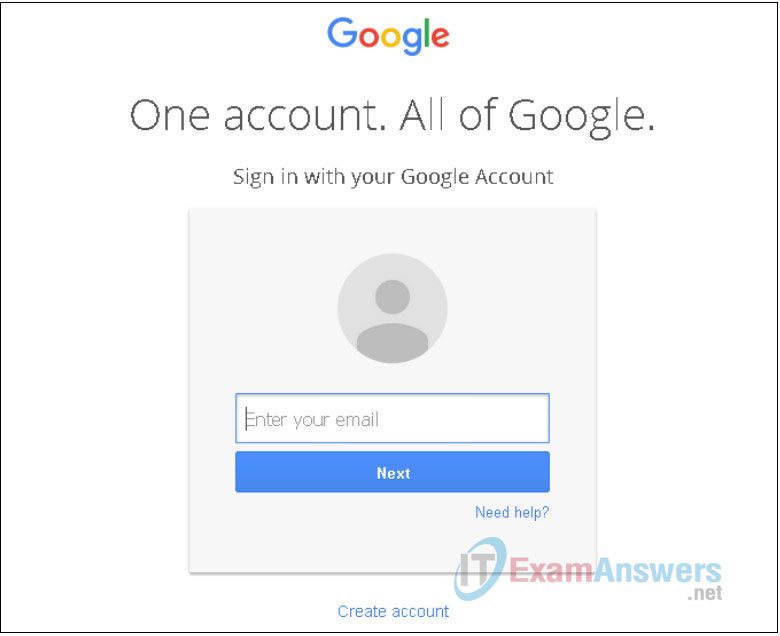
c. Click Create account in the bottom center of the browser window.
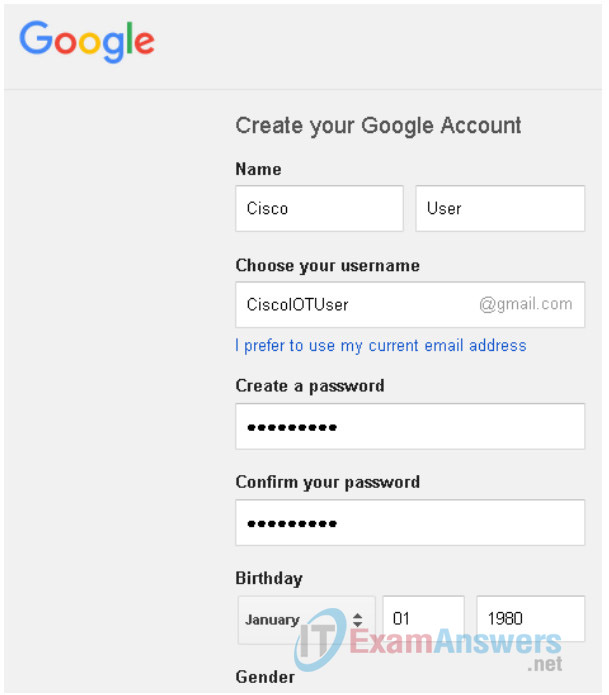
d. Fill in the necessary information to create an account, agree to Google’s Terms of Service and click Next Step.
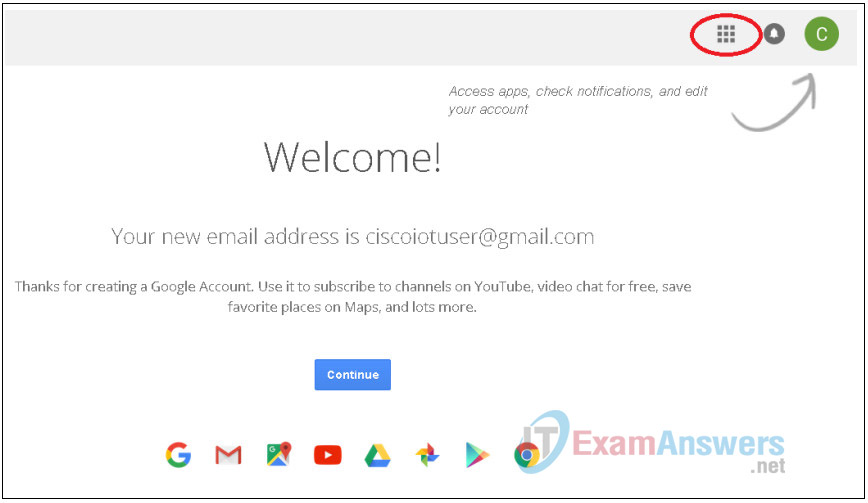
e. Use the grid icon in the upper right corner of the browser to access various Google apps.
Part 2: Set up an IFTTT user account
Step 1: Register a free user account at IFTTT
a. Browse to https://ifttt.com/join
b. Fill in the username of your Google account, create a password, and click Create Account.
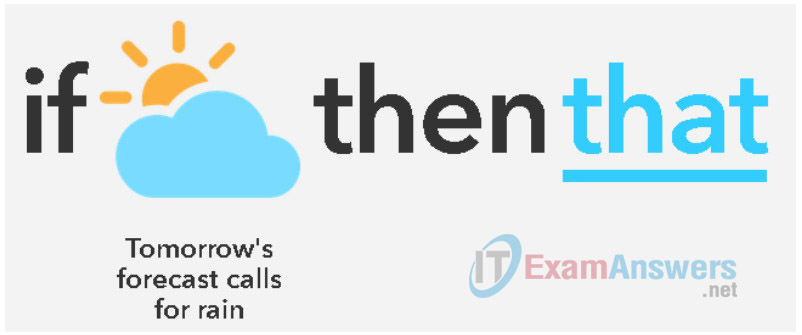
c. Click the word this which appears in the middle of the browser window.

d. Click the word that which appears to the right of the browser window.
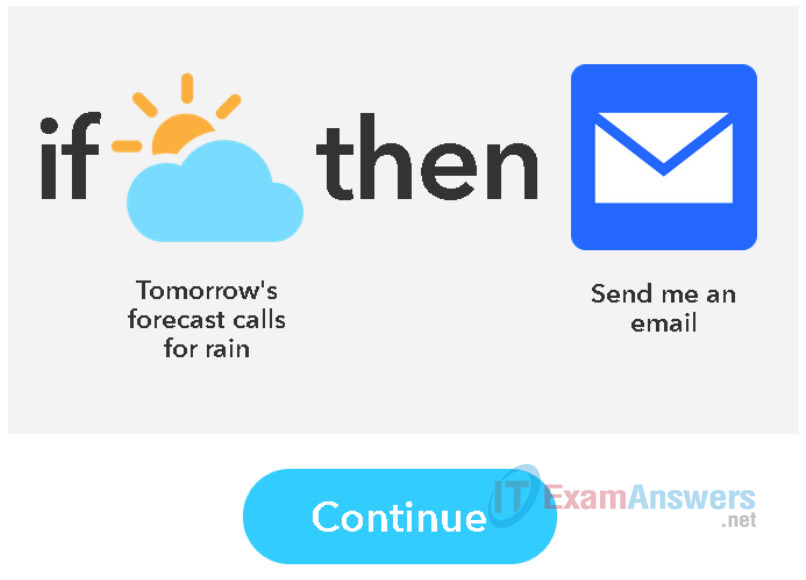
e. Click Continue which appears at the bottom of the browser window.
Part 3: Create an interaction between IFTTT and Google
Step 1: Select IFTTT channels
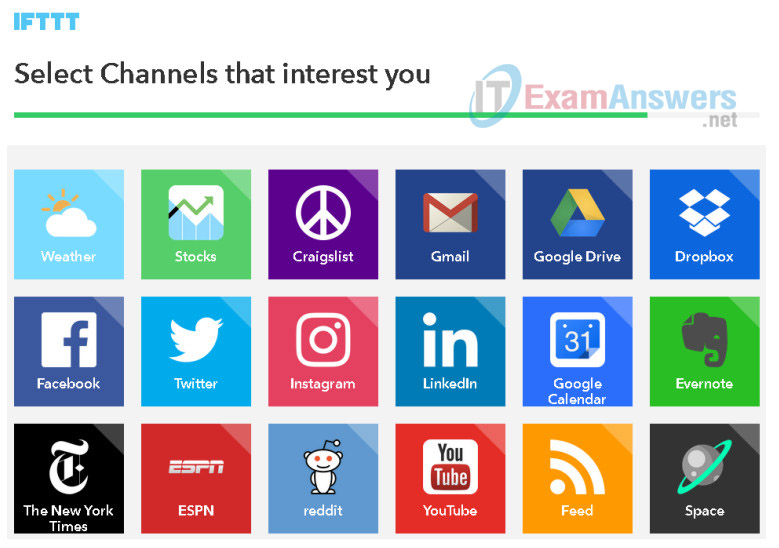
a. Select the channels for Weather and Gmail.
b. Click the recipe titled Get an email if there will be rain in your area tomorrow.
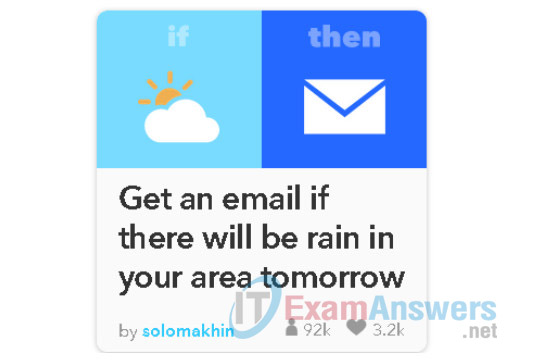
c. Add the recipe, and enter your location for the weather channel.
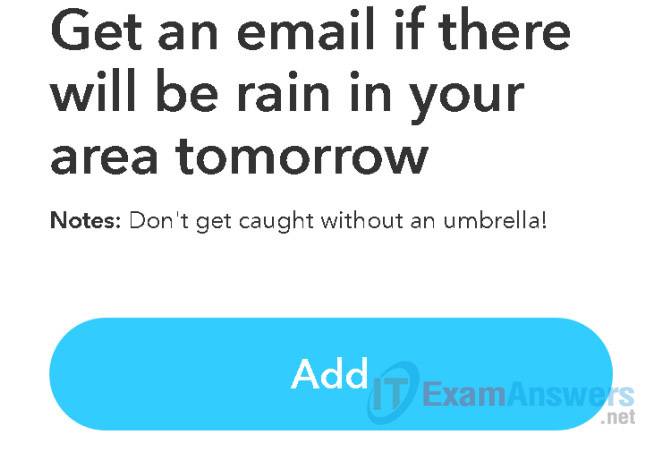
d. View your recipes at any time by clicking My Recipes.

e. Check your e-mail daily for IFTTT rain notifications.
Reflection
Browse the recipes on the IFTTT website. What other IFTTT recipes interest you?
Answers vary based on student preferences.
