1. Match the step number to the description

Explanation: Place the options in the following order:
| Open the computer case. |
1 |
| Align the screw holes on the power supply with the mounts on the computer case. |
2 |
| Screw the power supply into place. |
3 |
2. Match the step number to the description.
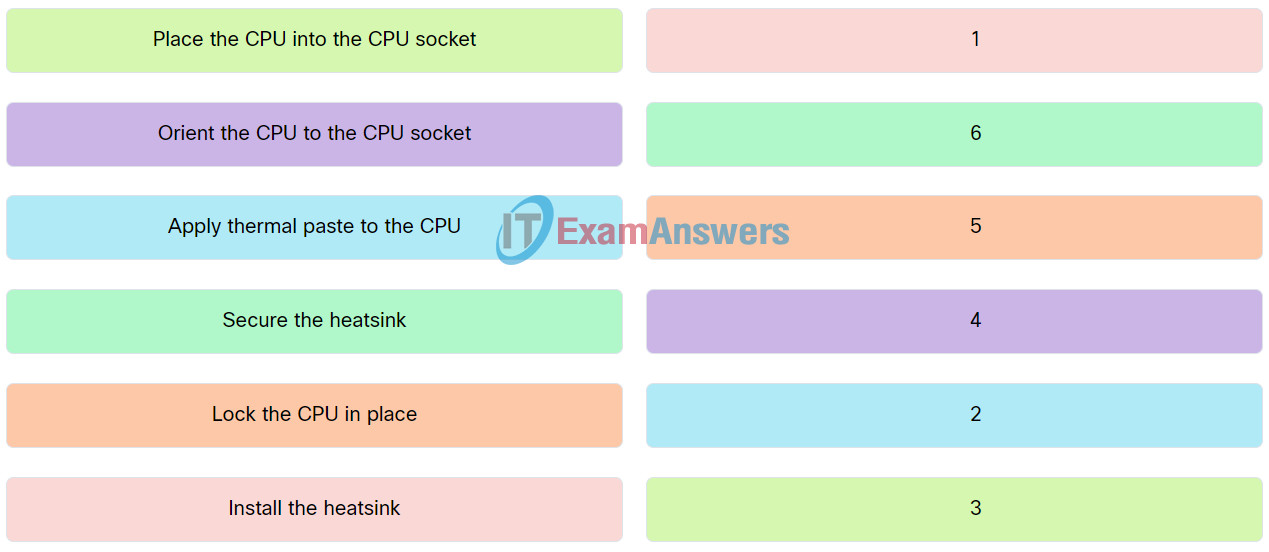
Explanation: Place the options in the following order:
| Install the heatsink. |
1 |
| Apply thermal paste to the CPU. |
2 |
| Place the CPU into the CPU socket. |
3 |
| Orient the CPU to the CPU socket |
4 |
| Lock the CPU in place. |
5 |
| Secure the heatsink. |
6 |
3. Match the step number to the description.

Explanation: Place the options in the following order:
| Open the RAM slot levers. |
1 |
| Orient the RAM stick to the motherboard slot. |
2 |
| Lower the RAM stick into the slot. |
3 |
| Press down firmly to lock in the RAM stick. |
4 |
4. Match the step number sequence for a PC assembly with the respective description.
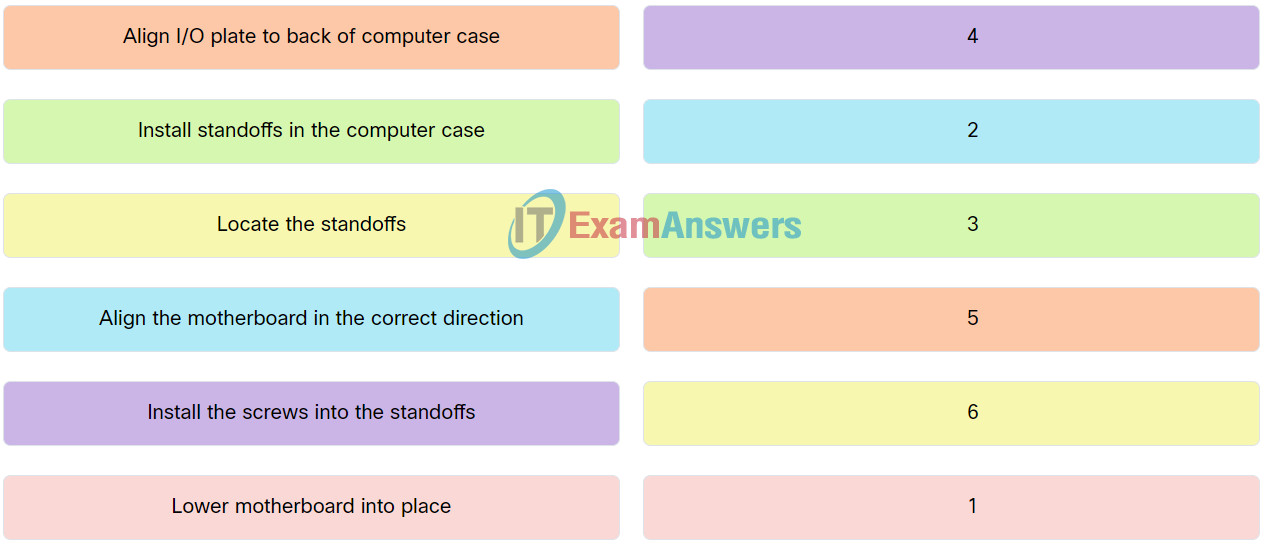
Explanation: Place the options in the following order:
| Lower motherboard into place. |
1 |
| Align the motherboard in the correct direction. |
2 |
| Install standoffs in the computer case. |
3 |
| Install the screws into the standoffs. |
4 |
| Align I/O plate to back of computer case. |
5 |
| Locate the standoffs. |
6 |
5. Select True or False for the statements about installing internal drives.
- Optical drives are installed from the front of the case – (True)
- It is recommended to hand-tighten drive mounting screws prior to using a screwdriver – (True)
- Modern motherboards provide the IDE interface for internal drive storage – (False)
- The SATA interface can be used to connect HDDs, SSDs, and optical drives – (True)
- In installations in which CPU cooling is important, HDDs are preferred for storage – (False)
- In installations in which CPU cooling is important, HDDs are preferred for storage – (False)
- When installing an HDD or SDD, the connectors should face the front of the case – (False)
6. Match the step number to the description.
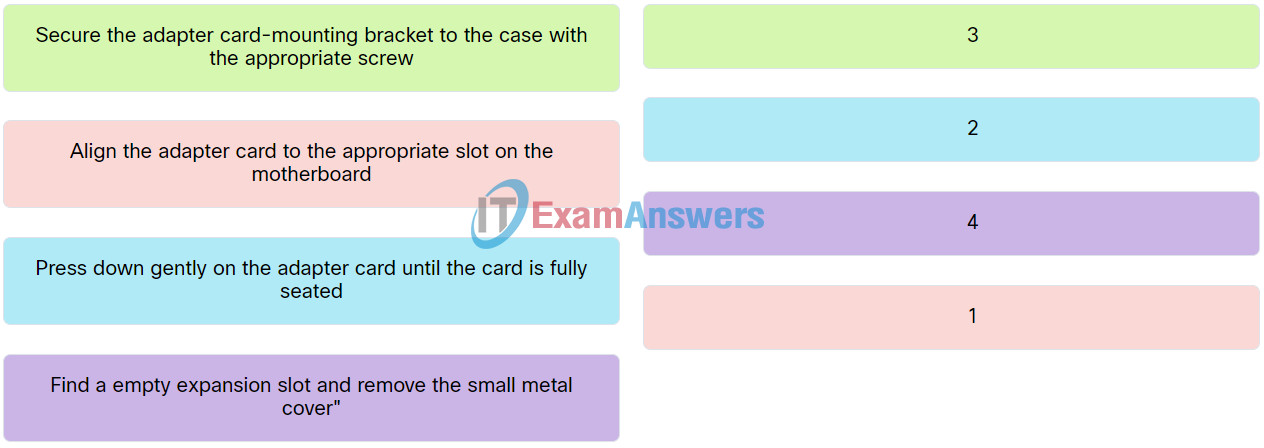
Explanation: Place the options in the following order:
| Align the adapter card to the appropriate slot on the motherboard. |
1 |
| Press down gently on the adapter card until the card is fully seated. |
2 |
| Secure the adapter card-mounting bracket to the case with the appropriate screw. |
3 |
| Find a empty expansion slot and remove the small metal cover. |
4 |
7. Match the media card to the respective description.
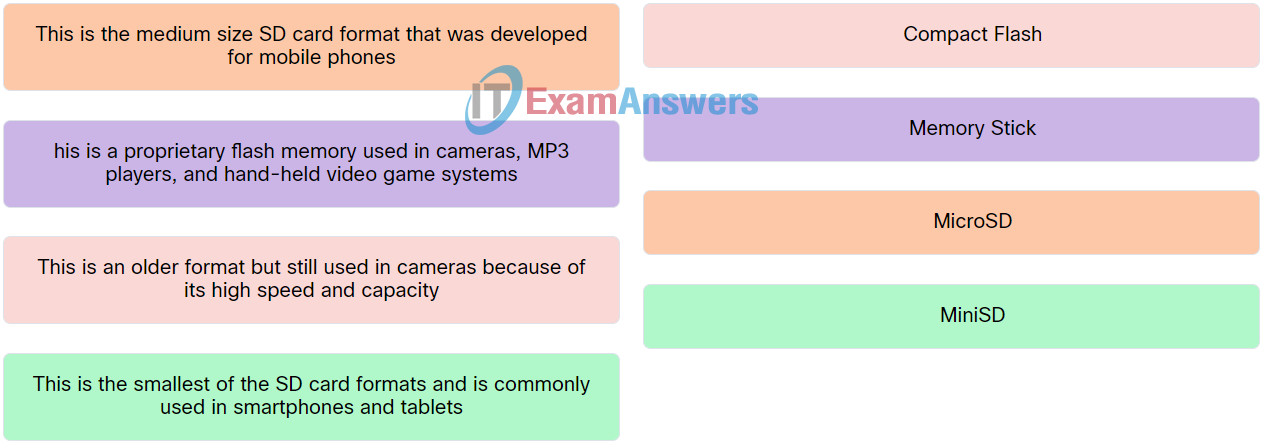
Explanation: Place the options in the following order:
| This is an older format but still used in cameras because of its high speed and capacity. |
Compact Flash |
| This is a proprietary flash memory used in cameras, MP3 players, and hand-held video game systems. |
Memory Stick |
| This is the medium size SD card format that was developed for mobile phones. |
MicroSD |
| This is the smallest of the SD card formats and is commonly used in smartphones and tablets. |
MiniSD |
8. Match the power connector type to the respective image.
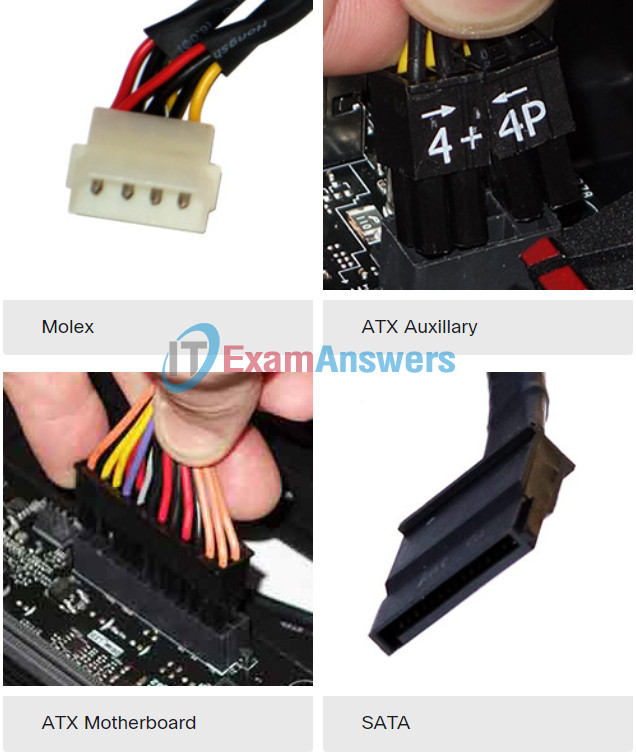
9. Choose the correct front panel connector for each description.
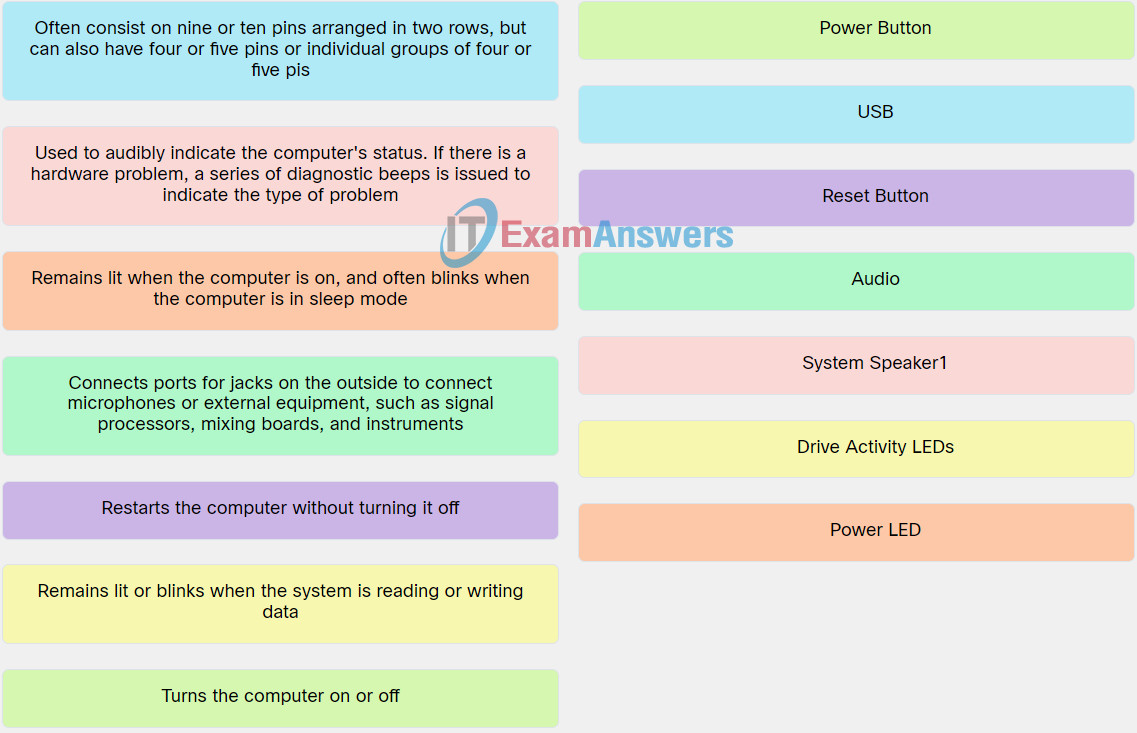
Explanation: Place the options in the following order:
| Turns the computer on or off. |
Power Button |
| Restarts the computer without turning it off. |
Reset Button |
| Connects ports for jacks on the outside to connect microphones or external equipment, such as signal processors, mixing boards, and instruments. |
Audio |
| Remains lit when the computer is on, and often blinks when the computer is in sleep modePower LED-Power. |
Power LED |
| Remains lit or blinks when the system is reading or writing data. |
Drive Activity LEDs |
10. Match the connector type to the respective image.
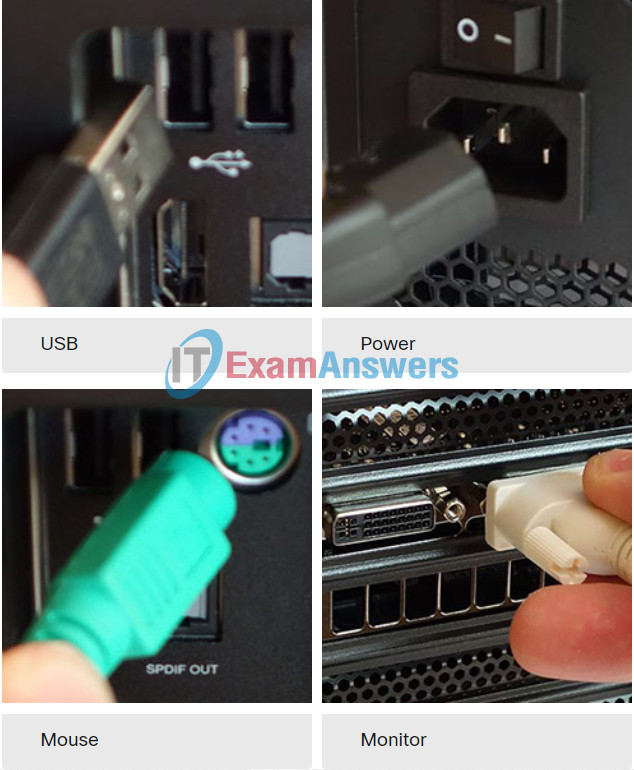


What does the “A” in P-A-S-S remind a person to do while using a fire extinguisher?