3.2.5.13 Lab – Working with Webex Teams (RESTful API lab) (Instructor Version)
Objectives
A RESTful API can be used to interact via HTTP verbs. By using HTTP verbs such as GET, PUT, POST, and DELETE, applications can easily communicate with other applications and web services (especially cloud services). Webex Teams is a cloud service that provides persistent chat, room-based collaboration, WebRTC video conferencing, and more. Developers can create code that can be used to integrate specific solutions with Webex Teams via the Webex Teams REST API. This can include automated Webex Teams messages based on real-world events that occur in a popular application/program.
- Part 1: Download and run Postman
- Part 2: Register/Login and Create a Room in Webex Teams
- Part 3: Explore Webex for Developers
- Part 4: Use Postman to build a POST request
Background / Scenario
This chapter introduces the student to the value of computer programs and coding. Every computer needs programs in order to provide functions and specific tasks. Programs are built upon code and people who can code are becoming more and more valuable. Software and APIs are becoming more important as users focus on downloading and using mobile and web applications. Designing these applications to integrate with each other and provide real-time content and functionality is of the utmost importance in regards to application adoption and success. In this lab we will use an HTTP client tool called Postman in order to make REST API calls.
Required Resources
- PC or mobile device with Internet access
- Webex Teams account
- Postman App
Part 1: Download Postman (if needed)
In order to complete this lab, the Postman App must be installed on your computer. Postman is designed to support multiple aspects of API development and is available for Mac, Windows, Linux or Chrome.
Step 1: Open a browser and access the Postmen homepage at the following URL:
https://getpostman.com
a. Click on the appropriate download for your computer.
b. Save the executable file to your computer.
Step 2: Run Postman:
a. After the download is complete. Double-click the file to run Postman.
b. The on-screen instructions may ask you to create/sign into an account. You are not required to do so.
c. Click on the link to access the Postman app.
Part 2: Register/Login and create a room in Webex Teams
After downloading and successfully deploying Postman on your computer, you will now use Webex Teams to create a meeting room and enroll users. This environment will be utilized later on.
Step 1: Open a browser and access Webex Teams at the following URL:
https://teams.webex.com/signin
a. Enter an email address you will use to login or register to use Webex Teams and click Next.
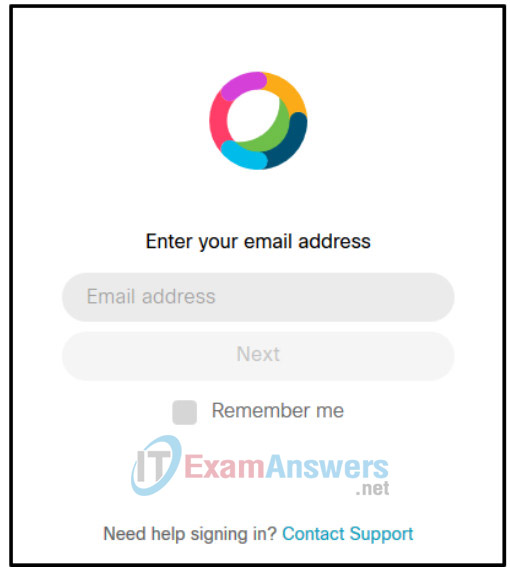
b. If you entered a new email that has not been used with Webex Teams you will be requested to verify your email address. Check your email and follow the appropriate steps to create a Webex Teams password and verify your account.
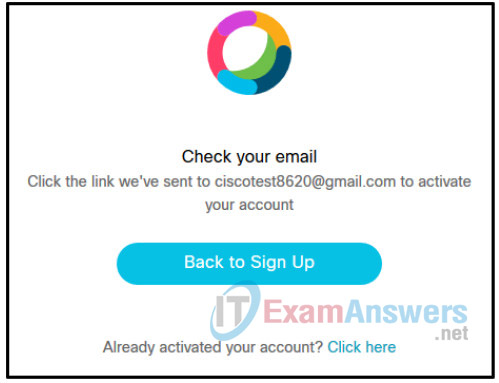
c. If you entered a new email that has not been used with Webex Teams, you will be requested to create a password. Enter a password and click Create Account.
d. If you entered a new email that has not been used with Webex Teams, you will next be requested to create a Profile name. Use your first name and click Next.
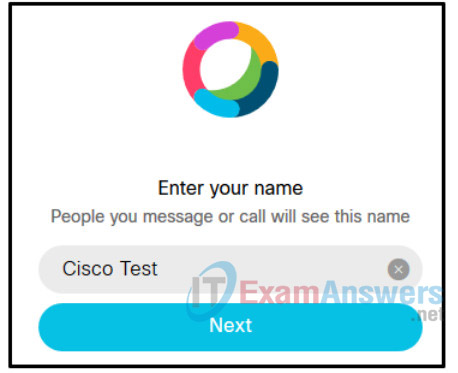
Step 2: Create a Room in Webex Teams:
a. In order to create a room in Webex Teams, you need to invite someone to a conversation.

b. In order to do that, you need to provide either a person’s firstname and lastname or provide an email address. If the person has a Webex Teams account, his/her name should appear in the list. If the person does not have Webex Teams account, you need to provide their email address.
c. For demonstration purposes you can use these two email addresses:
[email protected]
and
[email protected]
d. After adding both participants, click on the Go Chat! button.
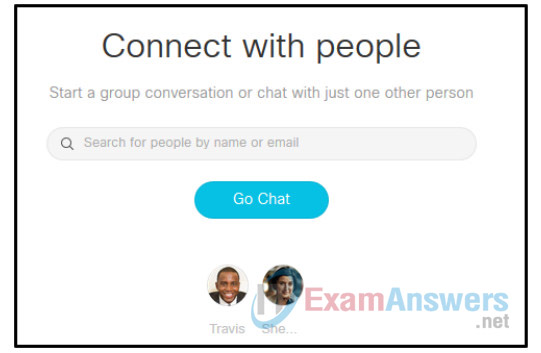
You have just created a new room in Webex Teams
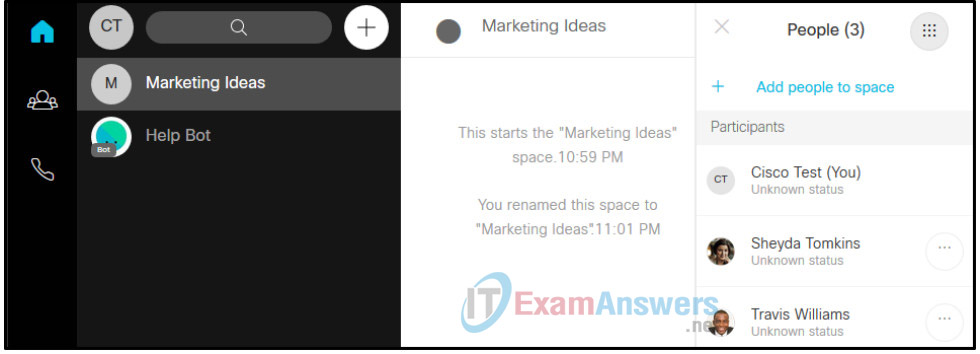
e. Rename the room to something more meaningful by clicking on the participants’ names. Change the name to Marketing Ideas
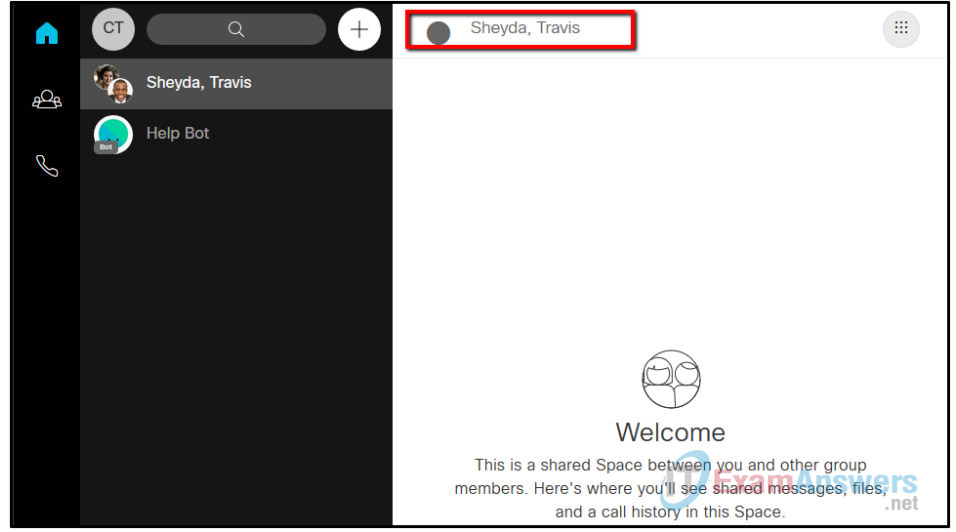
f. In order to add new people to this room, you will have to access the “space activities menu”. Click on this icon in the top right corner.

g. Click on the “People” icon.

h. Add a new user to the room using the Add people to space link on the top right side of the page. Add the user:
Part 3: Explore Webex for Developers
The Webex Teams user experience is focused on persistent collaboration rooms where groups of users can communicate via instant messaging, voice, video or by sharing files. We will get a complete listing of the existing Webex Teams rooms that a user is a member of first by using https://developer.webex.com/ UI, then by running Postman to query Webex Teams API’s /rooms REST resource:
Step 1: Open a browser and access the following URL:
https://developer.webex.com/resource-rooms.html
Note the methods that are available here. We are going to use the GET
https://api.ciscospark.com/v1/rooms API resource to retrieve a list of rooms associated with an account:
a. From the available options, click on GET https://api.ciscospark.com/v1/rooms :

Instead of retrieving a list of Rooms, what would the POST method provide a developer?
The POST method would be used with Webex Teams to create a room (space).
b. If you are not signed in, you will see a notification message:
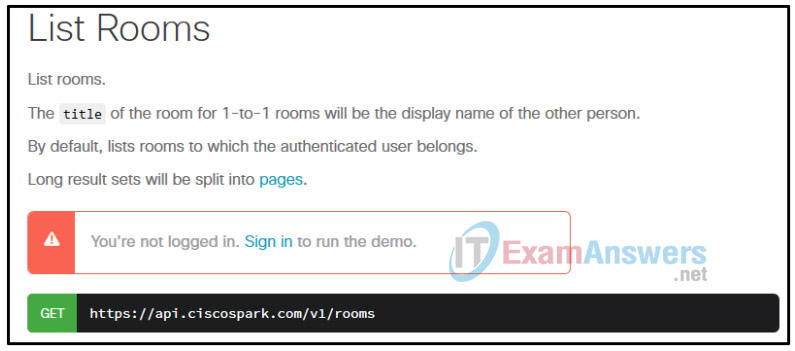
If you are not logged in, click “Sign in”. If required, please enter your previously used Webex Teams credentials.
c. Let’s explore all the sections, so we can understand its purposes
Request headers contains information that will be passed to the API server in the headers section. As we can see, Content-type was set to application/json; charset=utf-8 and Authorization key has the value starting with Bearer following with the access token.

Query Parameters are used when we want to query information regarding a particular value. If the query parameter is mandatory, then the Required column will have a checkbox.
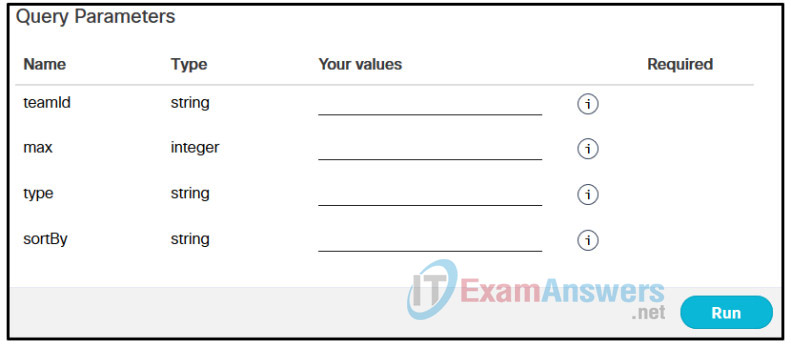
At the end there are detailed explanations of each response code you may receive if you run a particular API call.
d. Click the Run button when you are ready
On the right side of the page you will see the response from Webex Teams.
Read through the response code.
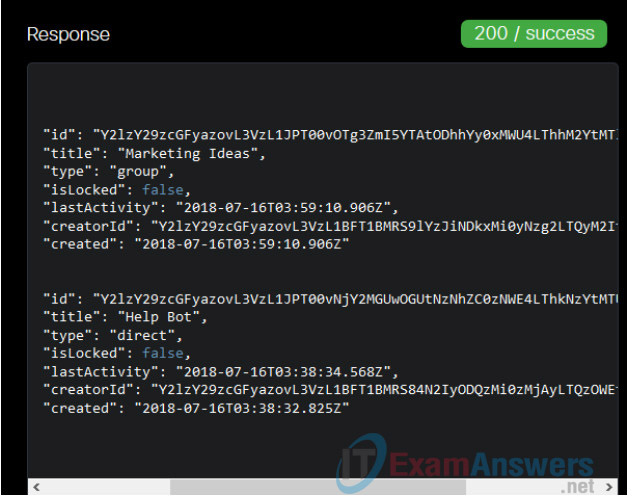
We have two rooms associated with our account.
What does the 200 / success mean at the top right of the Response window?
The request to the server was OK and was a success.
What would have a response code of 403 meant?
The server had refused the request or access was not allowed.
Part 4: Use Postman to build a POST request
Using the Postman APP, we will create a new Webex Teams room from outside of the Webex Teams application. This demonstrates the power and usefulness of utilizing RESTful APIs and integrating applications with other web services. Creating a Webex Teams room is just one example.
Step 1: Retrieve a Webex Teams API Access Token.
This token is a permanent developer token, and can be used to access Webex Teams APIs during exploration and development
a. Open a browser and access the following URL:
https://developer.webex.com/
b. Click on Docs.
c. Scroll down to the section titled “Authentication”

d. Click the Copy button to get your Webex Teams access token
Step 2: Access the Postman App we downloaded and opened in Part 1 of the lab.
a. Locate and open the Postman App which is a REST Client.
(If necessary, click the Reset button to clear any previously entered data.)
b. From the request method drop-down box, select POST.
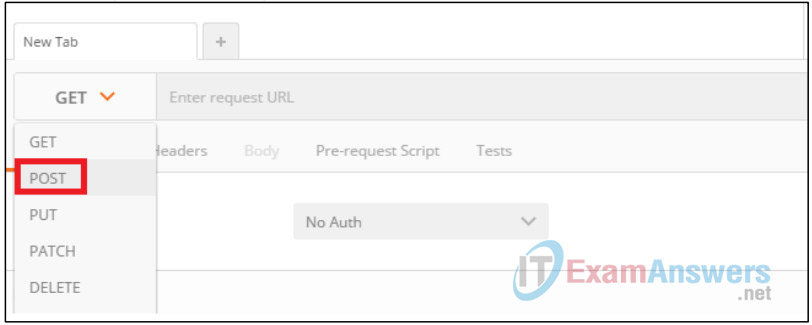
c. In the field labeled “Enter request URL”, type https://api.ciscospark.com/v1/rooms

This is the URL of the API’s /rooms resource.
d. Select the Headers tab.
e. In the field labeled key, type ‘Authorization’.

f. In the field labeled value, enter ‘Bearer {access token}’. Replace {access token} with your Webex Teams API access token. Note the space between ‘Bearer’ and the access token.

g. In a separate row of the header, in the key field specify Content-Type as the key name and set the value to application/json; charset=utf-8
The Headers tab should now display the following:

h. Select the Body tab.
i. Select raw.

This indicates that you are going to type the body of the request as plain text.
j. Select JSON.
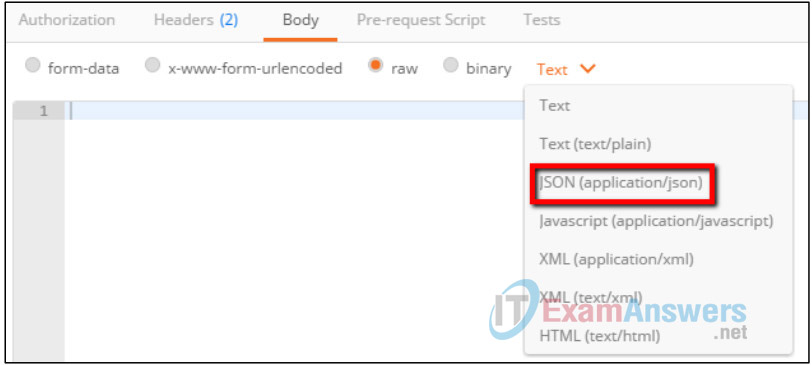
This indicates that the plain text is going to follow the JSON format.
k. Type the body of the request: {“title” : “Webex Teams API via Postman”}

l. Click Send.
View the bottom of the Postman App.

The response returns the information about the new room with the title Webex Teams API via Postman.
Step 3: Confirm that the new room has been created via your web browser:
a. Navigate to https://teams.webex.com/ and Login.
b. You should see the new room in your list of available rooms
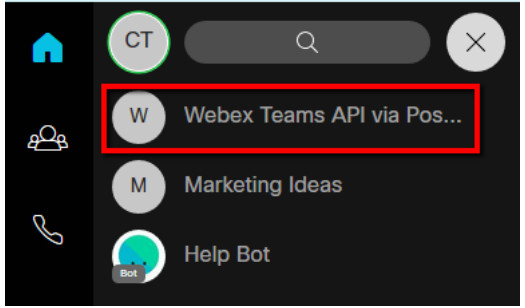
Congratulations! You’ve just created a new room for team collaboration!
