
13.4.5 Packet Tracer - Troubleshoot WLAN Issues Answers
Topology
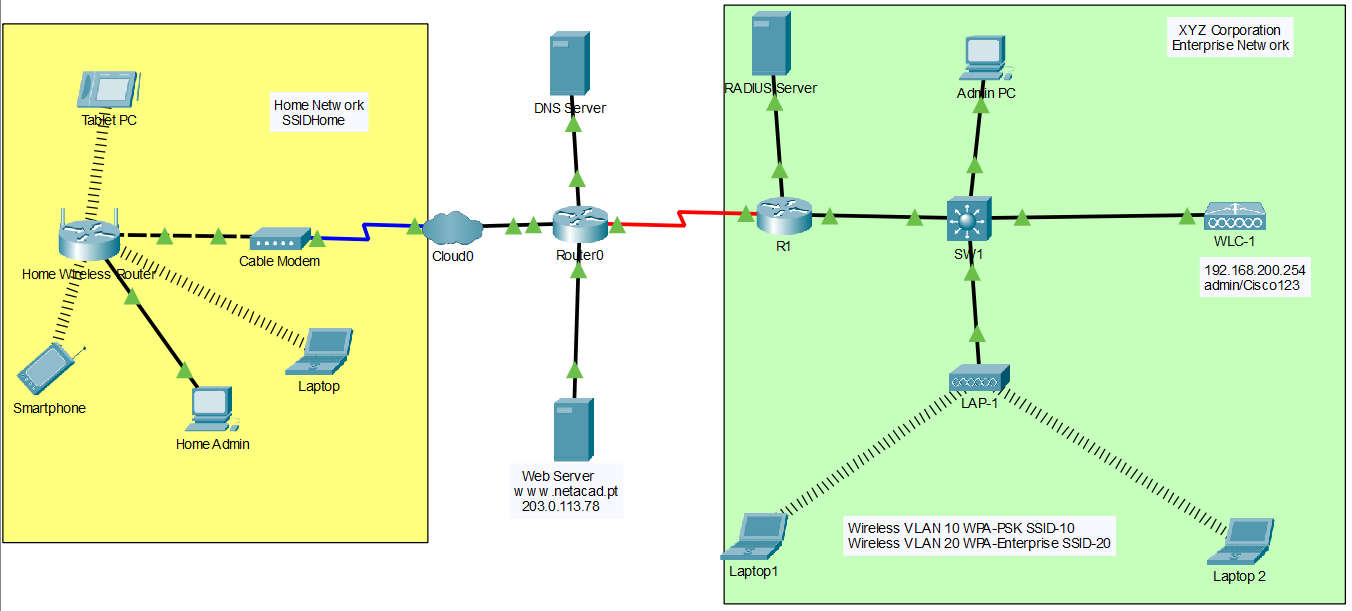
13.4.5 Packet Tracer – Troubleshoot WLAN Issues
Addressing Table
| Device | Interface | IP Address |
|---|---|---|
| Home Wireless Router | Internet | DHCP |
| LAN | 192.168.0.1 | |
| R1 | G0/0/0.10 | 192.168.10.1/24 |
| G0/0/0.20 | 192.168.20.1/24 | |
| G0/0/0.200 | 192.168.200.1/24 | |
| G0/0/1 | 172.31.1.1/24 | |
| SW1 | VLAN 200 | 192.168.200.100/24 |
| LAP-1 | G0 | DHCP |
| WLC-1 | Management | 192.168.200.254/24 |
| RADIUS Server | NIC | 172.31.1.254/24 |
| Admin PC | NIC | 192.168.200.200/24 |
| Web Server | NIC | 203.0.113.78/24 |
| DNS Server | NIC | 10.100.100.254 |
| Home Admin | NIC | DHCP |
| Laptop | NIC | DHCP |
| Laptop1 | Wireless0 | DHCP |
| Laptop2 | Wireless0 | DHCP |
| Tablet PC | Wireless0 | DHCP |
| Smartphone | Wireless0 | DHCP |
WLAN Information
| WLAN | SSID | Authentication | Username | Password |
|---|---|---|---|---|
| Home Network | HomeSSID | WPA2-Personal | N/A | Cisco123 |
| WLAN VLAN 10 | SSID-10 | WPA2-PSK/Personal | N/A | Cisco123 |
| WLAN VLAN 20 | SSID-20 | WPA2 802.1X/Enterprise | user2 | user2Pass |
Objectives
In this activity, you will troubleshoot various issues in home wireless and enterprise wireless networks.
- Troubleshoot wireless LAN connectivity issues in a home network.
- Troubleshoot wireless LAN connectivity issues in an enterprise network.
Background / Scenario
Now that you have learned how to configure wireless in home and enterprise networks, you need to learn how to troubleshoot in both wireless environments. Your goal is to enable connectivity between hosts on the networks to the web server by both IP address and URL. Connectivity between the home and enterprise networks is not required.
To access the Home Wireless Router, the username and password is admin.
The WLC management interface username is admin and the password is Cisco123.
Instructions
Contents
- Step 1: Test connectivity
- Step 2: Investigate issues (Problems 1, 2, 3, 4, 5, 6)
- Part 2: Fix Issues (Fixes 1, 2, 3, 4, 5, 6)
- Verify connectivity
Part 1: Troubleshoot the Network
Note: You will only be troubleshooting the Home Wireless Router, WLC and wireless host devices in this activity.
Step 1: Test connectivity.
a. Test connectivity between the various wireless hosts and the web server by both IP and URL www.netacad.pt.
On each wireless host, open the Command Prompt, check the addressing with ipconfig /all, then ping the web server by IP address and by name:
b. Record the hosts that cannot access the web server in the table in Step 2.
Step 2: Investigate issues and record findings.
a. Investigate the connectivity issues with each host. Issues may be with the host configuration, or with other wireless network components.
b. Complete the table.
Problem 1: Home hosts receive the wrong DNS server
Compare the DNS Servers line in the ipconfig /all output of Smartphone and Laptop in Step 1 with the DNS server 10.100.100.254.
Problem 2: Tablet PC uses static addressing
See the ipconfig /all output of Tablet PC in Step 1.
Problem 3: The Home Wireless Router Internet interface is static
On Home Admin, log in to the router (https://192.168.0.1, admin/admin) and check Setup > Basic Setup > Internet Setup.
Problem 4: WLAN VLAN 20 is disabled on the WLC
On Admin PC, log in to WLC-1 (https://192.168.200.254, admin/Cisco123) and open the WLANs page: check the Admin Status of WLAN VLAN 20.
Problem 5: Laptop2 uses the wrong username
On Laptop2, open PC Wireless > Profiles and check the login name of the SSID-20 profile.
Problem 6: WLAN VLAN 10 uses 802.1X instead of PSK
On WLC-1, open WLAN VLAN 10 > Security > Layer 2 and check Authentication Key Management.
| # | Device | Network (Home/Enterprise) | Issue | Remedy |
|---|---|---|---|---|
| 1 | Smartphone, Tablet PC, Laptop | Home | Unable to access the URL of the server by name. The DNS server address is misconfigured on the Home Wireless Router DHCP server. | Change the DNS server address on the Home Wireless Router DHCP server to 10.100.100.254. |
| 2 | Tablet PC | Home | Client set to static addressing | Should be set to DHCP. |
| 3 | Home Wireless Router | Home | Internet interface is set to static. | Set the Internet interface to DHCP. |
| 4 | WLC | Enterprise | WLAN VLAN 20 is not enabled. | Enable WLAN and apply. |
| 5 | Laptop2 | Enterprise | Laptop2 won’t connect to WLAN VLAN 20. Incorrect username in client profile. | Change username to user2. |
| 6 | WLC | Enterprise | Laptop1 cannot connect to the WLAN. On the WLC, WLAN VLAN 10 has Authentication Key Management set to 802.1x rather than PSK, which is the configuration required for WPA2 PSK security. | Change Authentication Key Management to PSK, enter the PSK value from the WLAN table. |
Note: The home hosts fail the ping by IP address too, not only by name: while the Internet interface of the Home Wireless Router is static (Problem 3), no home traffic reaches the Internet. The DNS problem (Problem 1) remains after that fix, so both must be corrected.
Part 2: Fix Issues
Make changes to the device configurations so hosts can achieve connectivity with the network. Test to ensure all hosts can reach the communication goal of connecting to the web server by both IP address and URL.
Fix 1: Change the DNS server address on the Home Wireless Router DHCP server to 10.100.100.254.
a. Use a Copper Straight-Through cable to connect FastEthernet0 on Home Admin to GigabitEthernet 1 on Home Wireless Router.
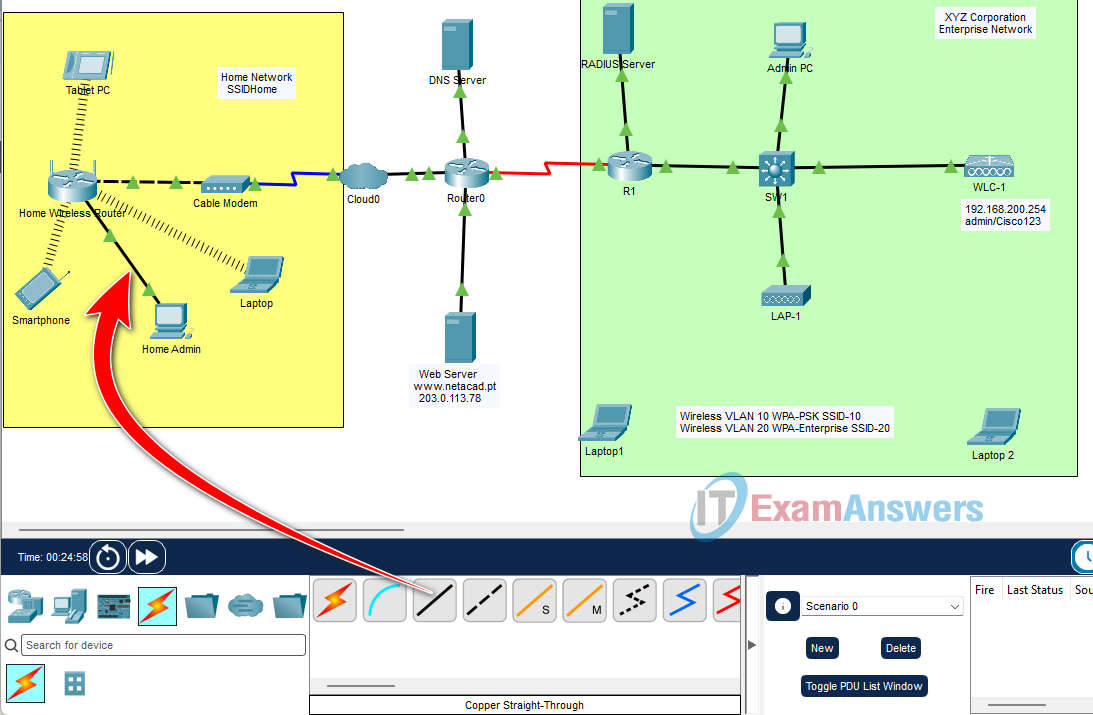
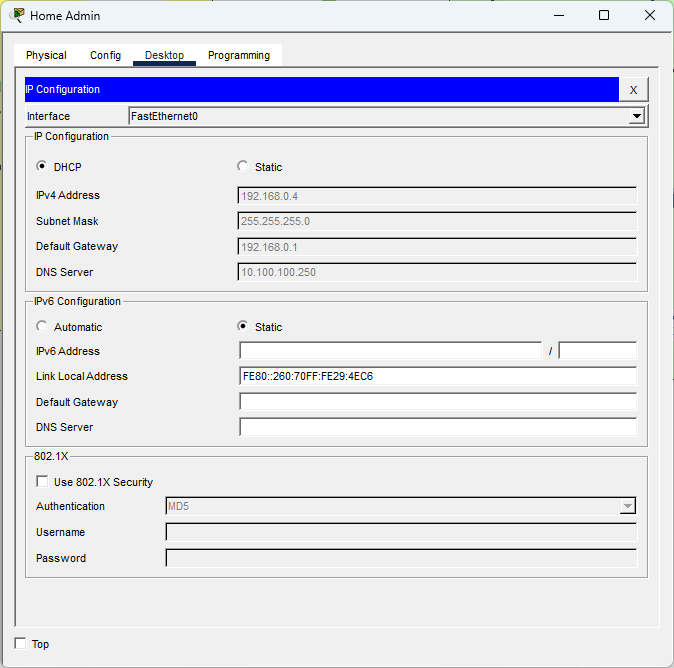
b. On Home Admin, go to the Desktop tab, click IP Configuration and select DHCP. Wait until Home Admin receives an IP address in the 192.168.0.0/24 network (for example, 192.168.0.100) with the default gateway 192.168.0.1. Click Fast Forward Time if necessary.
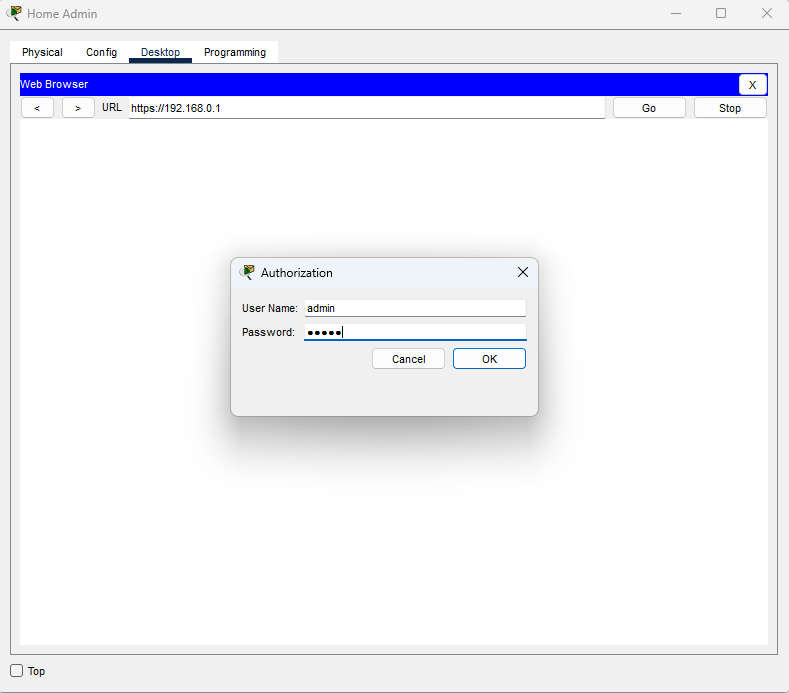
c. On Home Admin, go to the Desktop tab and open the Web Browser. Enter https://192.168.0.1 in the URL field to open the web configuration page of Home Wireless Router. Use admin for both the username and password.
d. On the Setup > Basic Setup page, scroll down to Network Setup. In the DHCP Server Settings, change the DNS server address (Static DNS 1) to 10.100.100.254. Scroll to the bottom of the page and click Save Settings.

Change the DNS server address
e. Renew the IP information on Smartphone, Laptop and Home Admin so that they receive the new DNS server address. On each device, go to the Desktop tab, open the Command Prompt and enter ipconfig /renew.
Fix 2: Set Tablet PC to DHCP.
On Tablet PC, go to the Desktop tab, click IP Configuration and change the setting from Static to DHCP. Tablet PC should receive an IP address in the 192.168.0.0/24 network and the DNS server address 10.100.100.254.
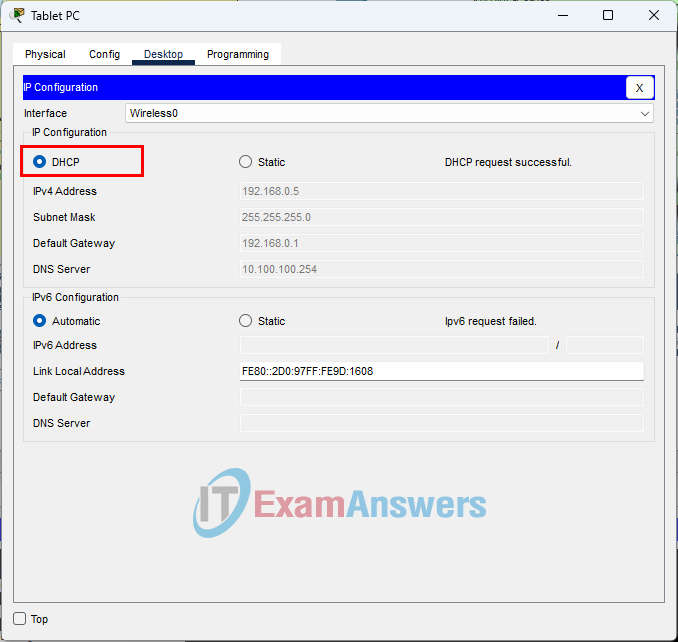
C:\> ipconfig /all

Wireless0 Connection:(default port)

   Connection-specific DNS Suffix..:
   Physical Address................: 00D0.979D.1608
   Link-local IPv6 Address.........: FE80::2D0:97FF:FE9D:1608
   IPv6 Address....................: ::
   IPv4 Address....................: 192.168.0.5
   Subnet Mask.....................: 255.255.255.0
   Default Gateway.................: ::
                                     192.168.0.1
   DHCP Servers....................: 192.168.0.1
   DHCPv6 IAID.....................: 32752
   DHCPv6 Client DUID..............: 00-01-00-01-47-3E-01-80-00-D0-97-9D-16-08
   DNS Servers.....................: ::
                                     10.100.100.254
Fix 3: Set the Home Wireless Router Internet interface to DHCP.
Log in to Home Wireless Router from Home Admin again. On the Setup > Basic Setup page, under Internet Setup, change the Internet Connection Type from Static IP to Automatic Configuration - DHCP. Scroll to the bottom of the page and click Save Settings.

Note: If you get a Request Timeout message, wait a few seconds, click Fast Forward Time, and log in to Home Wireless Router again.
Fix 4: Enable WLAN VLAN 20 on the WLC and apply.
a. On Admin PC, go to the Desktop tab and open the Web Browser. Enter https://192.168.200.254 to access WLC-1. Log in with the username admin and the password Cisco123.
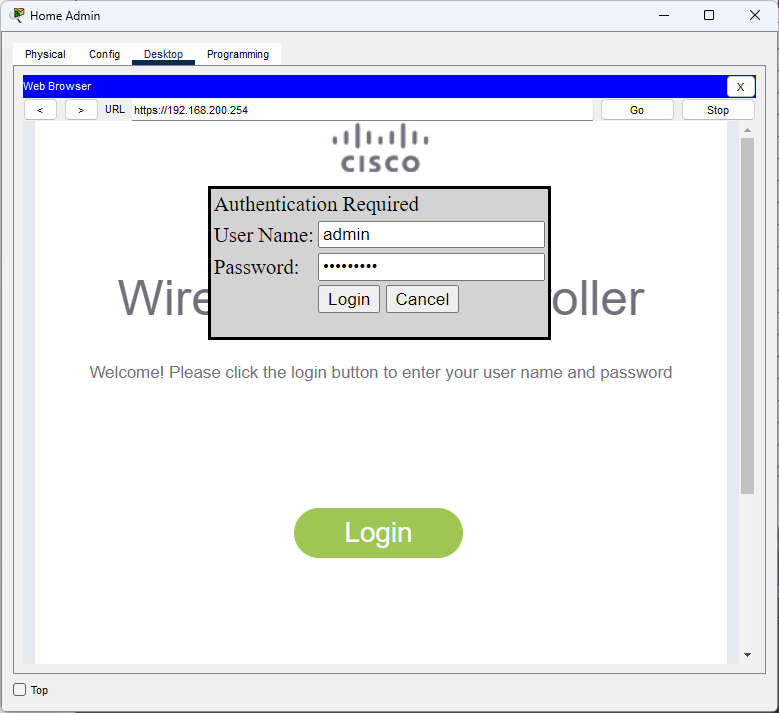
b. Click WLANs in the menu bar, and then click the WLAN ID of WLAN VLAN 20 (SSID-20).

c. On the General tab, check the Enabled box next to Status, and then click Apply.

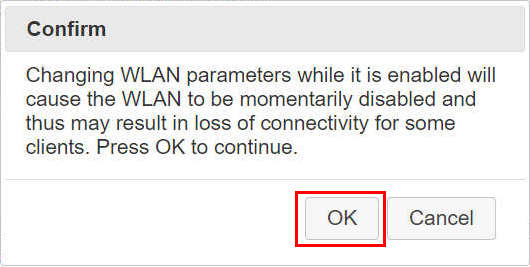
A Confirm dialog appears: "Changing WLAN parameters while it is enabled will cause the WLAN to be momentarily disabled and thus may result in loss of connectivity for some clients. Press OK to continue." Click OK.
Fix 5: Change the username on Laptop2 to user2.
a. On Laptop2, go to the Desktop tab and open PC Wireless.

b. Click the Profiles tab, select the existing profile, and click Edit.

c. Select the wireless network name SSID-20 and click Advanced Setup.

Two setup windows follow. Keep the default settings and click Next in each of them:
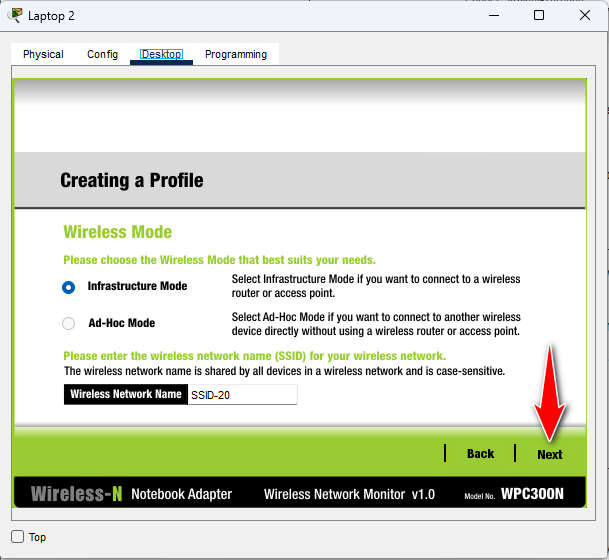
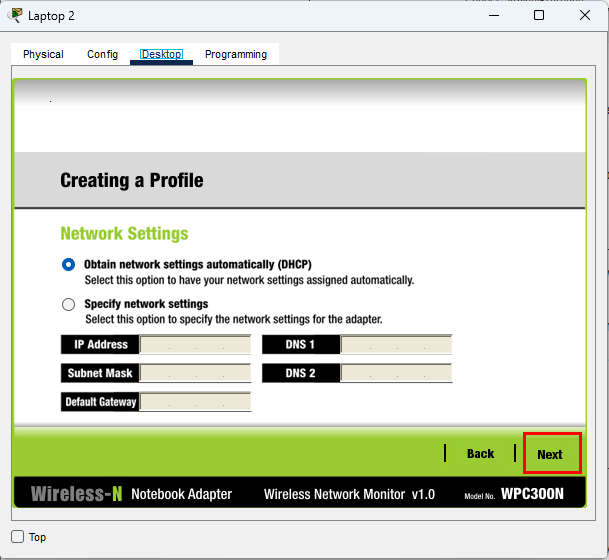
d. Click Next until you reach the Wireless Security page. Select WPA2-Enterprise and click Next.

e. Enter the login name user2 and the password user2Pass, and then click Next.

f. Verify the profile settings and click Save.


g. On the Profiles tab, select the edited profile and click Connect to Network. Click Fast Forward Time if necessary.
Results: Laptop2 is connected to SSID-20 and receives an IP address in the 192.168.20.0/24 network, with the default gateway 192.168.20.1.
C:\> ipconfig

Wireless0 Connection:(default port)

   Connection-specific DNS Suffix..:
   Link-local IPv6 Address.........: FE80::20C:85FF:FE9B:9E35
   IPv6 Address....................: ::
   IPv4 Address....................: 192.168.20.3
   Subnet Mask.....................: 255.255.255.0
   Default Gateway.................: ::
                                     192.168.20.1

Bluetooth Connection:

   Connection-specific DNS Suffix..:
   Link-local IPv6 Address.........: ::
   IPv6 Address....................: ::
   IPv4 Address....................: 0.0.0.0
   Subnet Mask.....................: 0.0.0.0
   Default Gateway.................: ::
                                     0.0.0.0
The wireless connection between Laptop2 and LAP-1 after all the configuration steps above:

Fix 6: On the WLC, change Authentication Key Management for WLAN VLAN 10 to PSK.
a. On Admin PC, in the WLC web interface, click WLANs in the menu bar, and then click the WLAN ID of WLAN VLAN 10 (SSID-10).

b. Click the Security tab. Under the Layer 2 tab:
- Under Authentication Key Management, disable 802.1X and enable PSK.
- Enter Cisco123 as the pre-shared key, and then click Apply.

c. Connect Laptop1 to WLAN VLAN 10. On Laptop1, go to the Desktop tab, open PC Wireless, and click the Connect tab. Select SSID-10, click Connect, enter the pre-shared key Cisco123, and click Connect again.


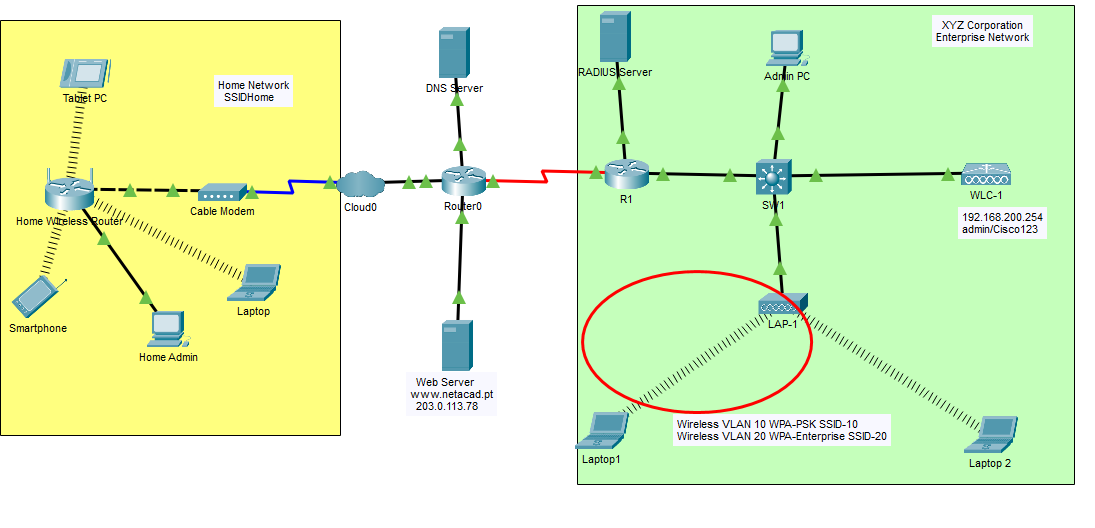
The wireless connection between Laptop1 and LAP-1 after all the configuration steps above:
C:\> ipconfig /all

Wireless0 Connection:(default port)

   Connection-specific DNS Suffix..:
   Physical Address................: 0009.7C11.1EC5
   Link-local IPv6 Address.........: FE80::209:7CFF:FE11:1EC5
   IPv6 Address....................: ::
   IPv4 Address....................: 192.168.10.2
   Subnet Mask.....................: 255.255.255.0
   Default Gateway.................: ::
                                     192.168.10.1
   DHCP Servers....................: 192.168.10.1
   DHCPv6 IAID.....................: 20921
   DHCPv6 Client DUID..............: 00-01-00-01-CA-E0-D2-71-00-09-7C-11-1E-C5
   DNS Servers.....................: ::
                                     10.100.100.254
Verify connectivity.
From each wireless host (Smartphone, Tablet PC, Laptop, Laptop1 and Laptop2), ping the web server by both IP address and URL. All pings should be successful.


