10.1.2.3 Lab – Working with Android (Answers)
Introduction
In this lab, you will place apps and widgets on the home screen and move them between different screens.
You will also create folders. Finally, you will install and uninstall apps from the Android device.
Recommended Equipment
- Android tablet or smartphone running Android version 5.0
Answers Note: This lab must be completed by students even if the recommended equipment is not available. This lab is designed to provide students with familiarity of the Android OS and manipulating of home screen items.
Answers Note: Due to the variety of Android devices and operating systems, some of the paths and locations of items may be different than those in this lab. Consult the manual of the Android device used to determine the correct instructions for your device.
Part 1: Apps and Widgets
Step 1: Gain Access to the Device.
Turn on the device and log in with the password, PIN, or other passcode, if necessary.
Step 2: Add App Shortcuts to the Home Screen.
a. On the home screen, apps can be installed using the All Apps icon. Touch the All Apps icon.
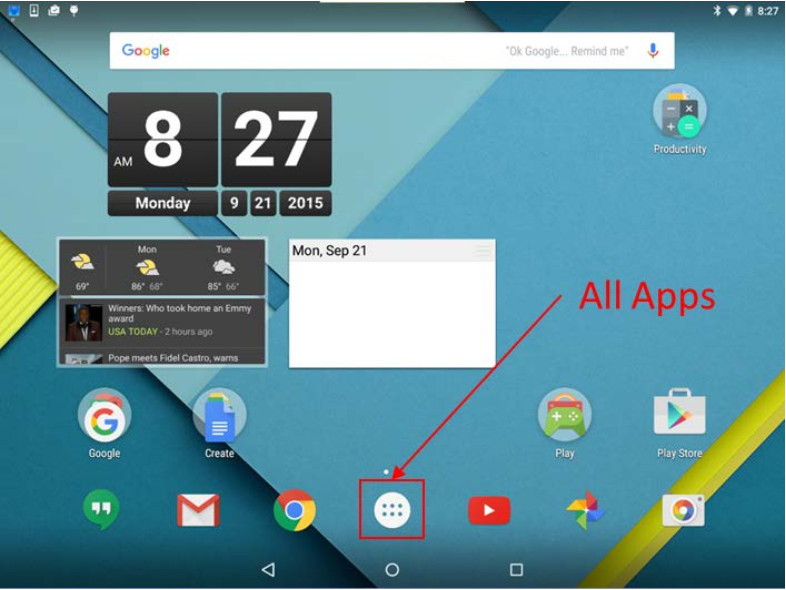
The All Apps screen appears.
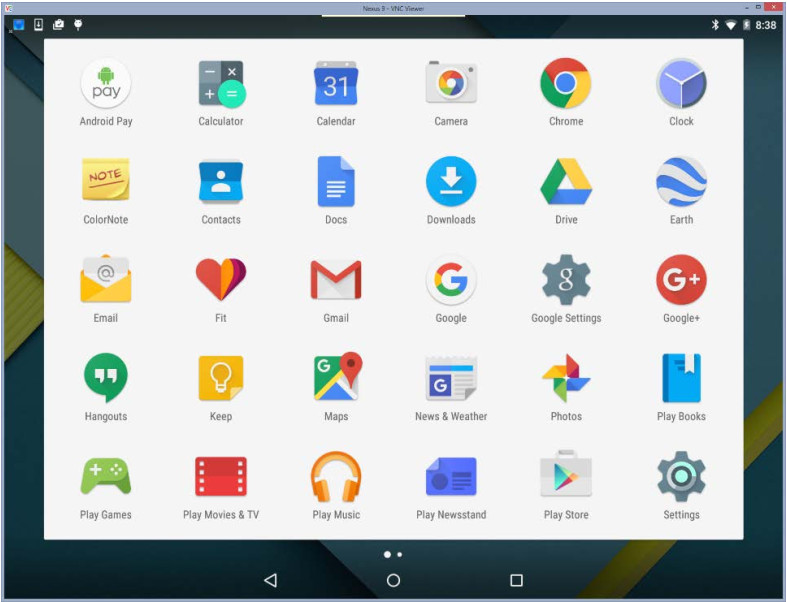
b. Touch and hold any app icon to create a shortcut to it on the home screen. As the app icon is held, the home screen and possible locations for the shortcut becomes visible in the background. The image below shows the home screen and a possible location for a shortcut as the Calculator app icon is held.
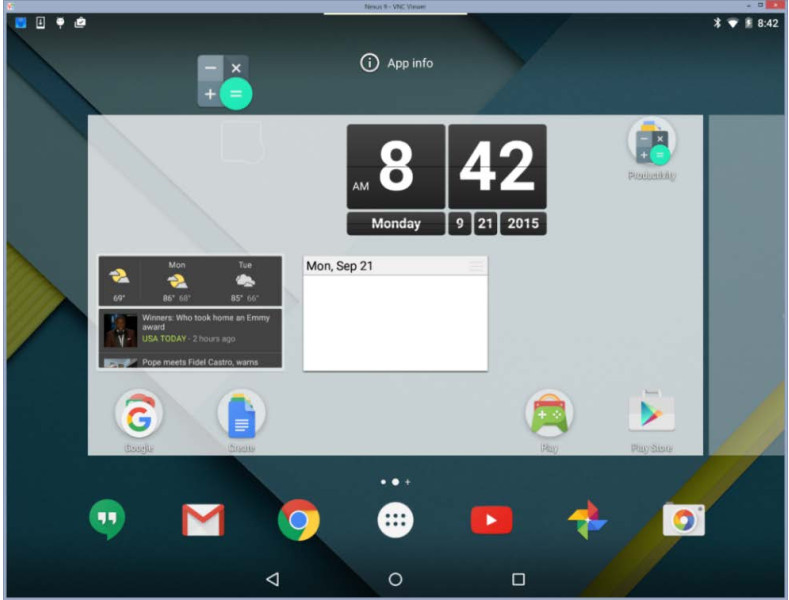
c. Drag the app icon to any empty space and release it.
Step 3: Add Widgets to the Home Screen.
Widgets are apps that display information dynamically on the home screen. Different from app shortcuts represented by a single icon, widgets usually occupy a larger area of the screen and can be installed directly from a screen.
a. To add a widget to a screen, touch and hold a blank area of a screen. The screen will reduce in size and a three-icon menu will appear.
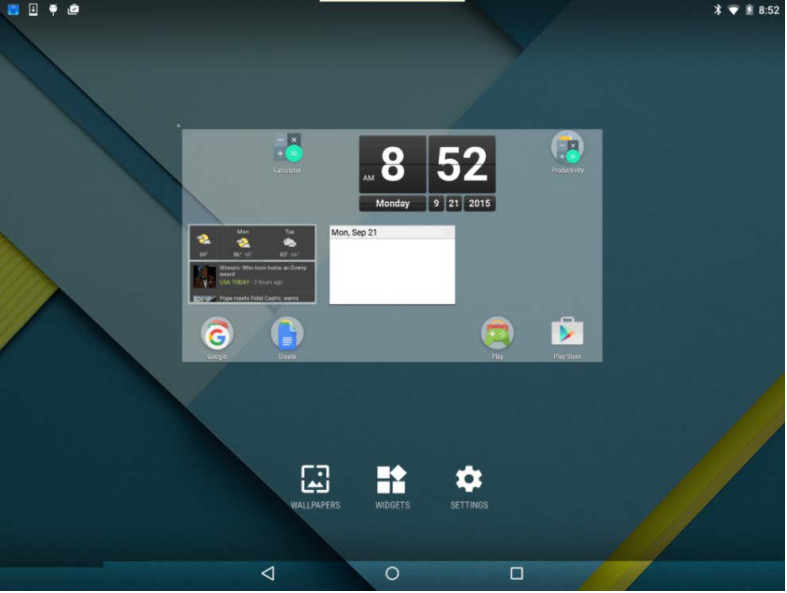
b. Touch the Widgets icon. A list of installed Widgets appear.
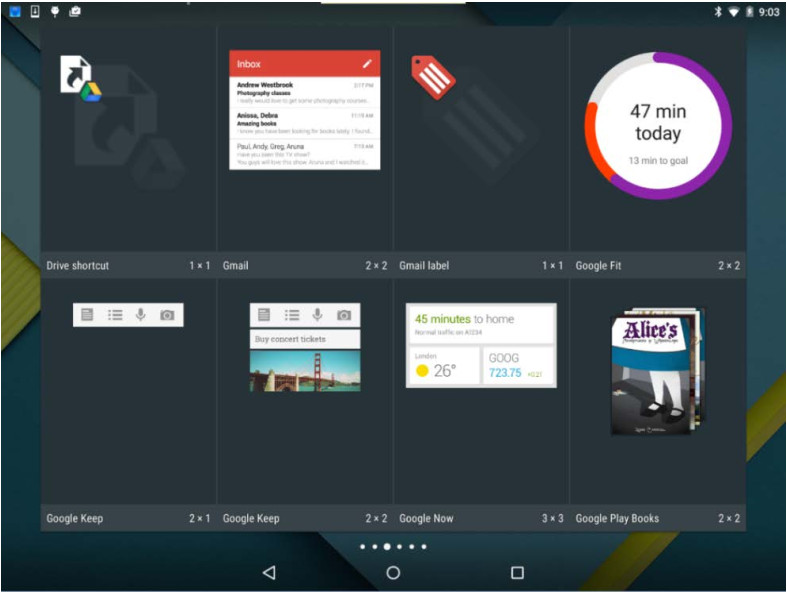
c. Touch and hold a widget. Similarly to adding an app, the home screen will become visible, allowing you to choose a location for the widget. Drag the widget to any empty space and release it. In the image below, the Google Fit Widget is being placed on the home screen.
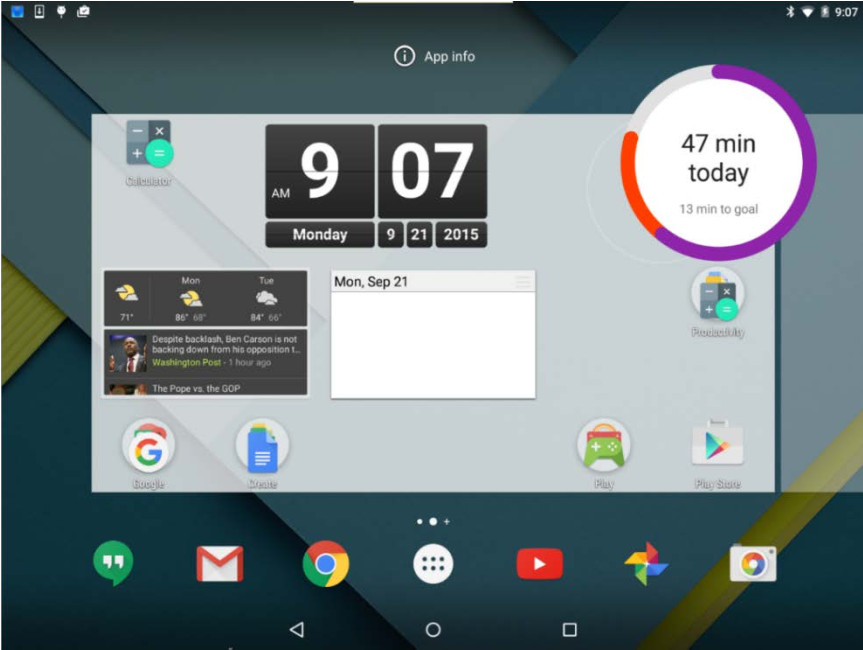
Note: Widgets and apps must be installed before they can be added to screens. Widgets and apps can be installed from the Google Play Store.
Step 4: Move Apps Between Screens.
You can move apps to other screens.
a. Touch and hold any app icon. Drag the app to the right edge of the screen.
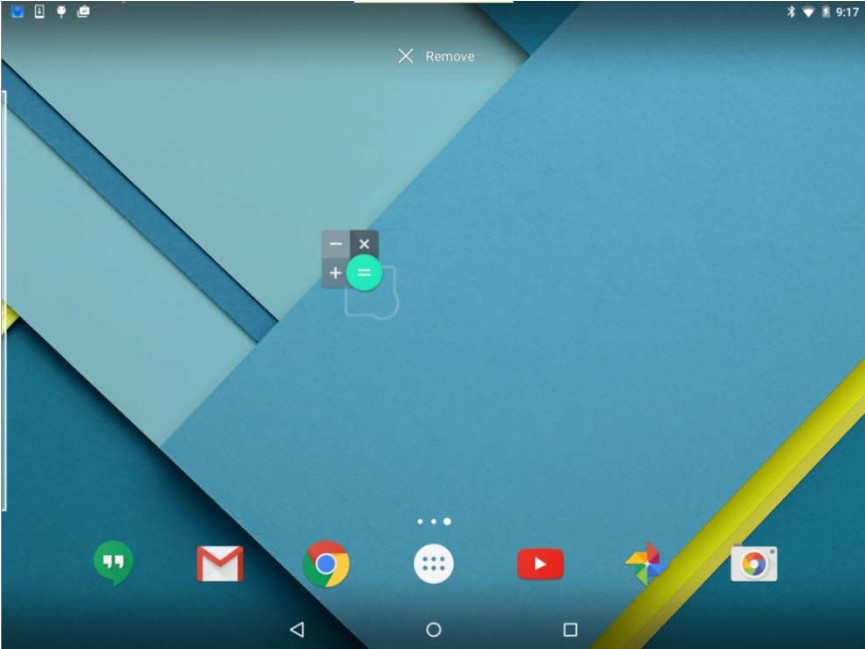
b. Drag the app icon to any empty space and release it.
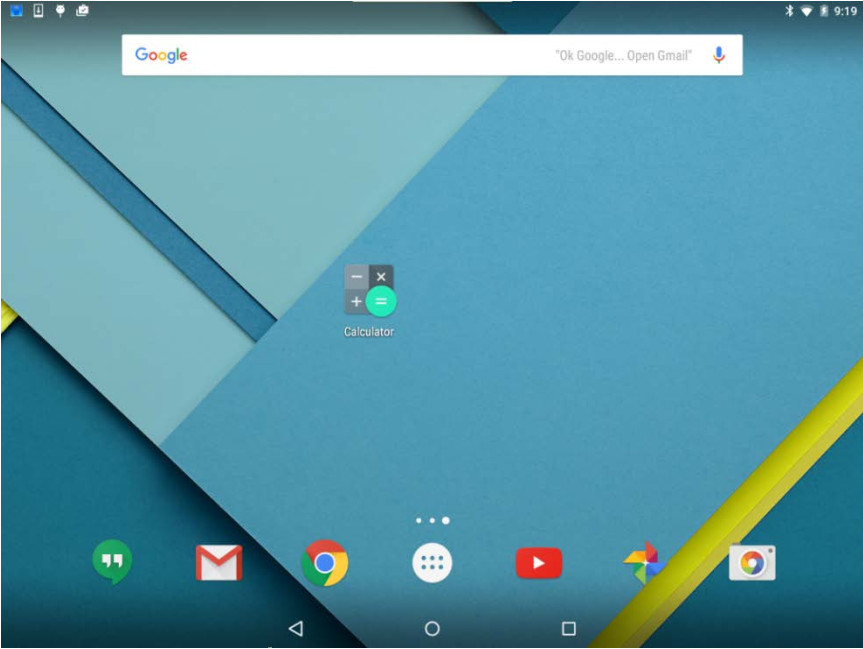
Note: Widgets can also be moved to other screens in the same manner as apps.
Step 5: Remove Apps or Widgets from the Home Screen.
Apps and widgets can be removed from the home screen. In this example, you will remove the Drive app from the home screen.
a. Touch and hold the Drive app icon. As you hold the icon, the search box on the top of the screen is replaced by the Remove link. Drag the Drive icon onto the Remove link and release the app.
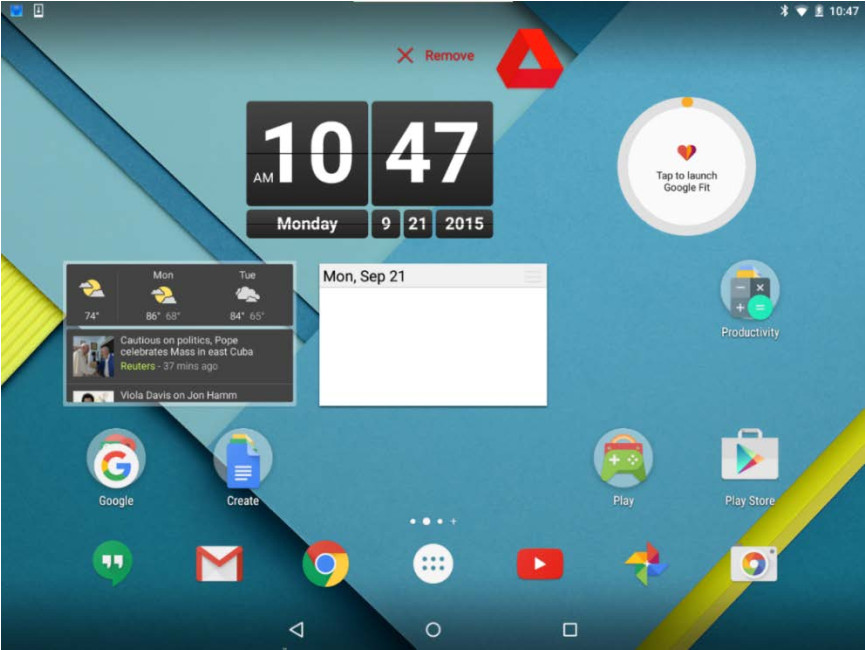
b. The app is now removed from the home screen.
Note: Widgets can be removed from the home screen in the same manner.
Note: The method shown in this step simply removes the app shortcut from the home screen; the app is still installed on the device and can be easily be brought back to the home screen as seen in Step 2 of this lab. App uninstallation is covered later in this lab.
Part 2: Managing Folders
Step 1: Create a Folder.
Apps can be grouped together to create folders by simply dragging an app on top of another.
a. Add another app to the screen. You must have at least two apps to create a folder. In the image below, the Calculator and Photos apps areused as examples.
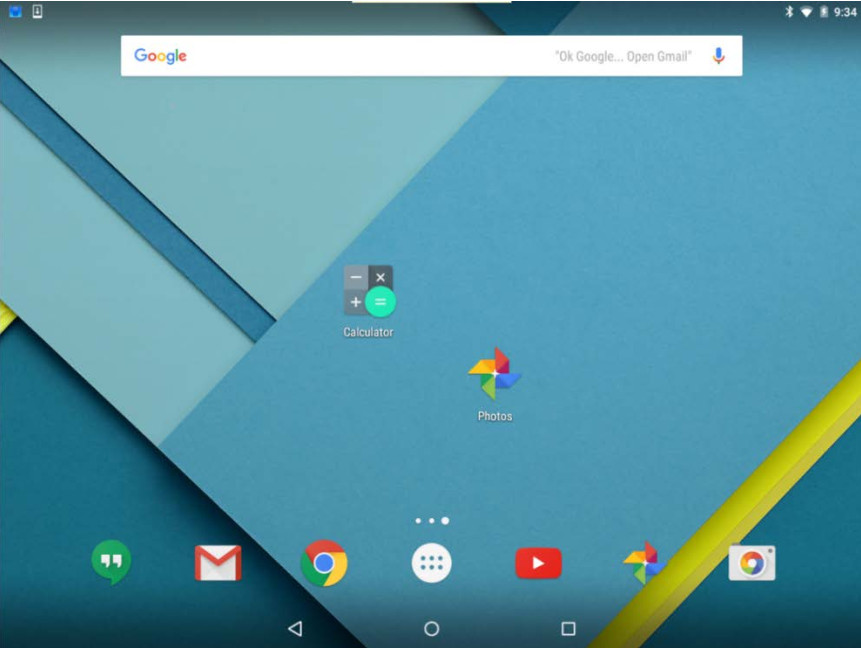
b. Touch and drag one of the apps icon onto the other.
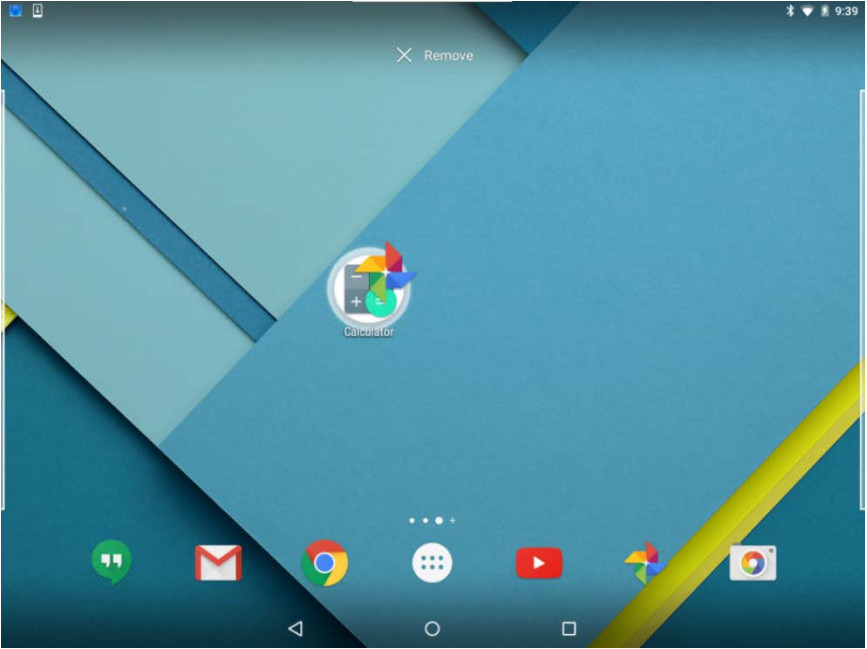
c. Release the app. A folder is created containing both the Calculator and Photos apps.
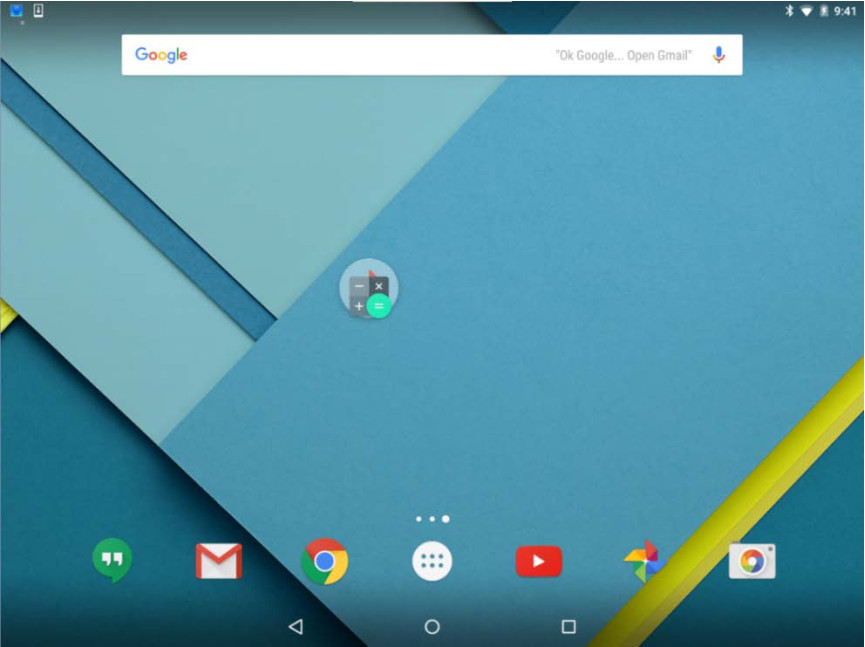
Step 2: Rename a Folder.
Folders can be named to describe the contents.
a. Touch the folder.
b. Touch the words Unnamed folder.
c. Type the name ITE Apps Folder for the folder name.
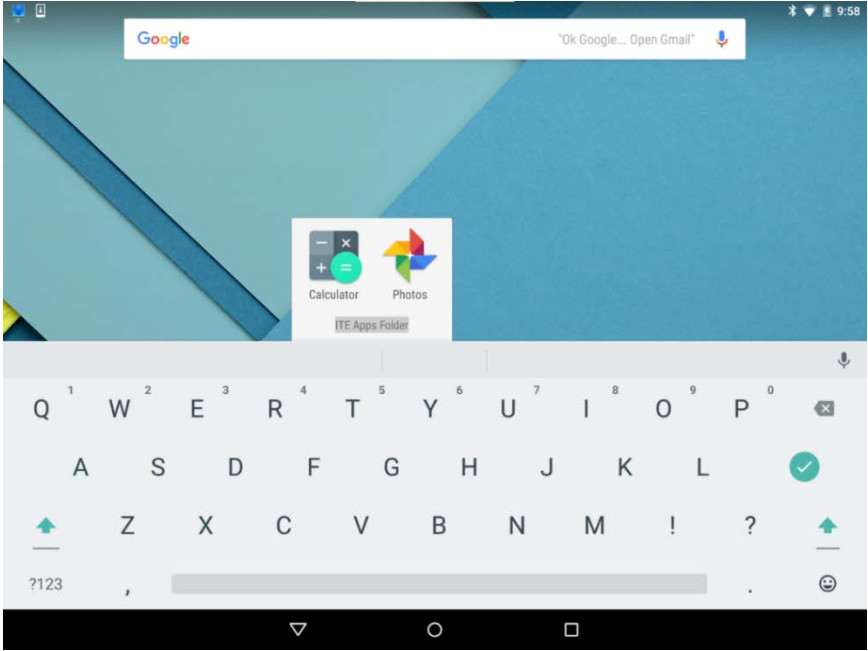
d. Touch anywhere outside the folder to close it.
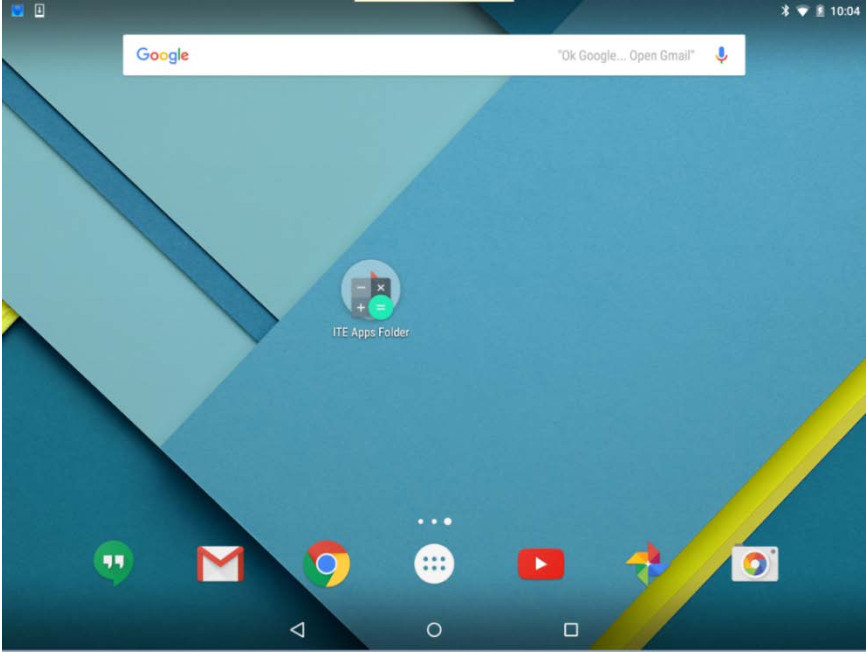
Step 3: Remove Apps from a Folder.
Apps can be removed from folders.
a. Touch and hold any app within the folder.
b. Drag the app to an empty area of the home screen.
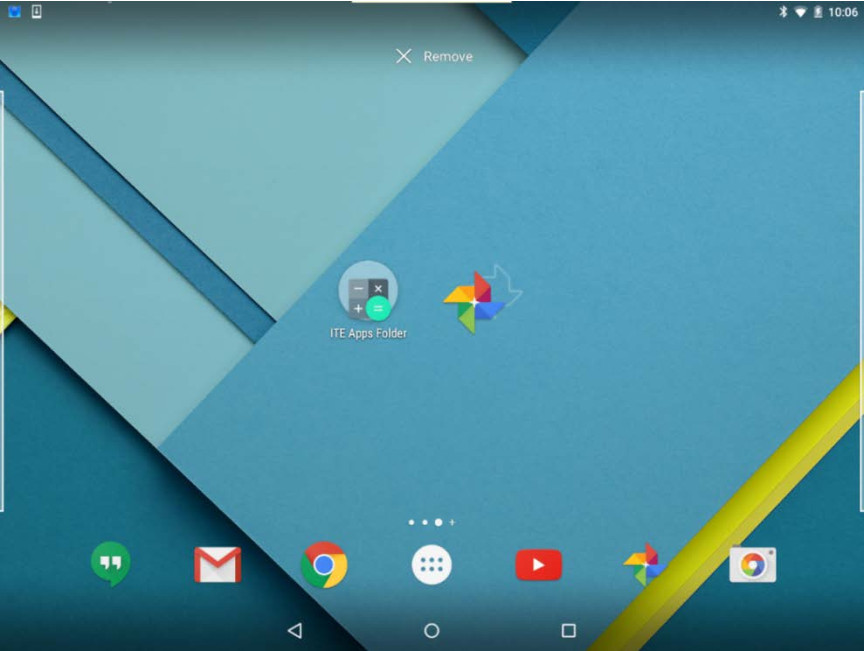
c. Release the app.
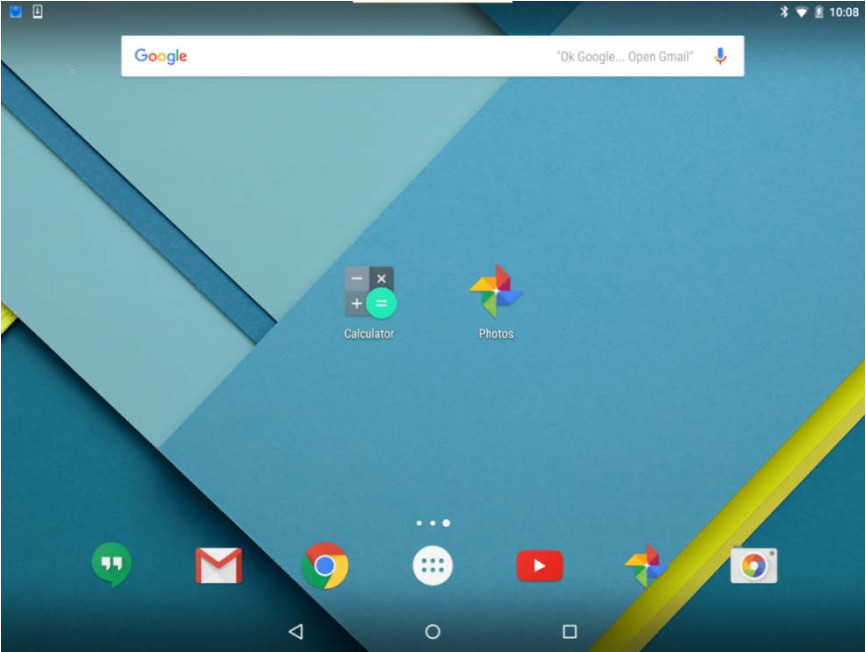
After Photos is removed from the folder, what happened to the folder and the Calculator app?
The folder was deleted, and the Calculator app was placed on the home screen.
Part 3: Managing Apps
Step 1: Install Apps.
a. Open Google Play Store app.
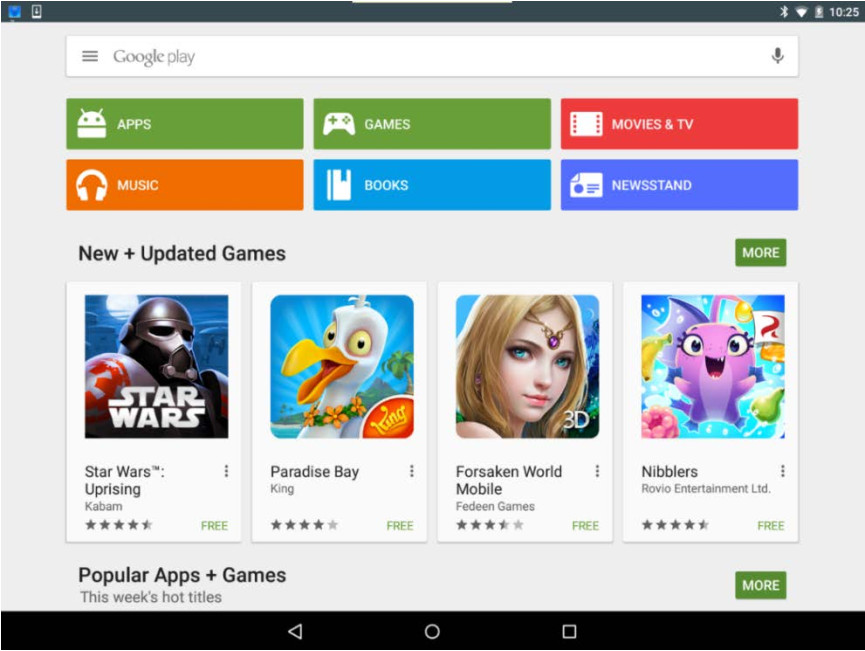
b. Search and install LastPass, a free password manager for Android.
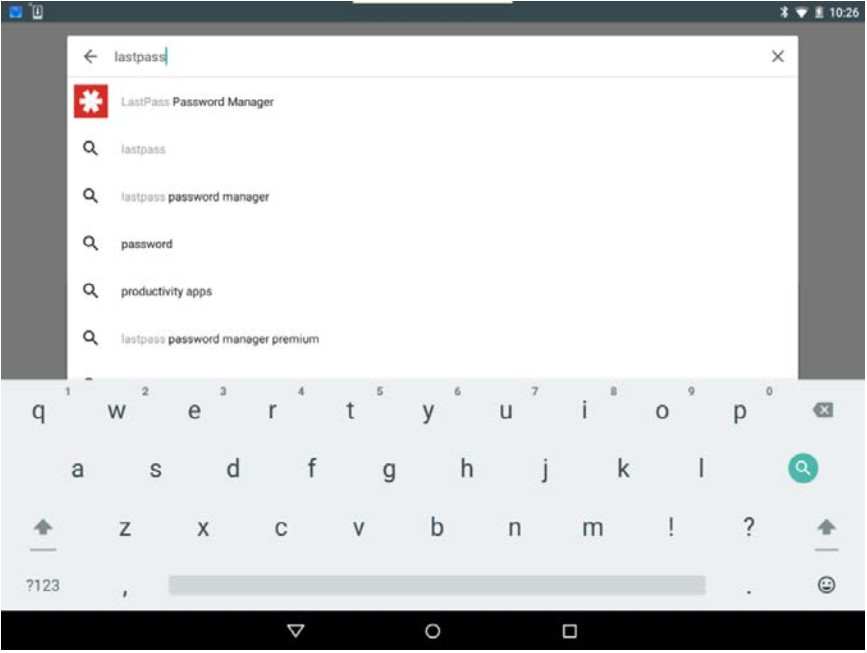
c. Touch LastPass Password Manager to see details about LastPass.
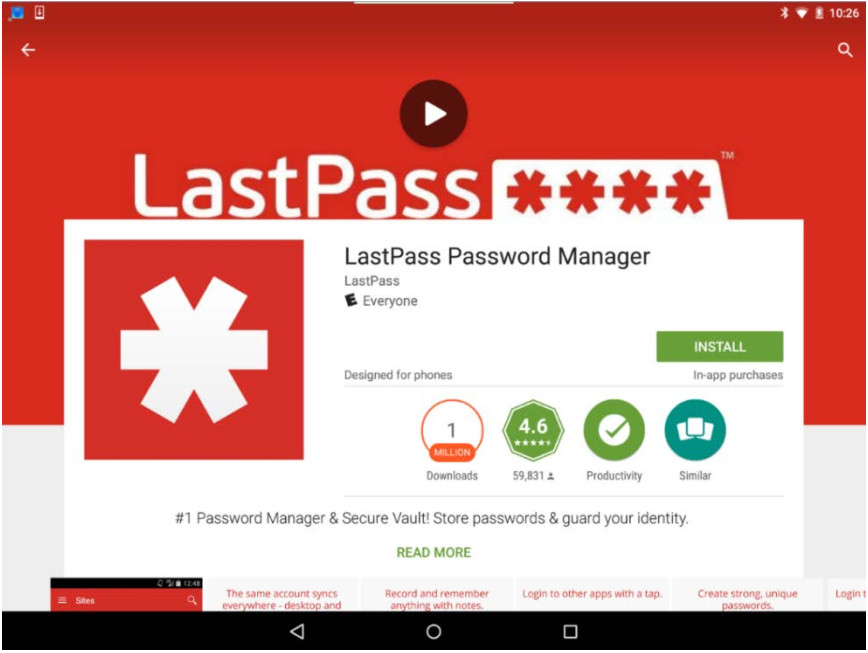
d. Touch INSTALL and then ACCEPT on the App Permissions window.
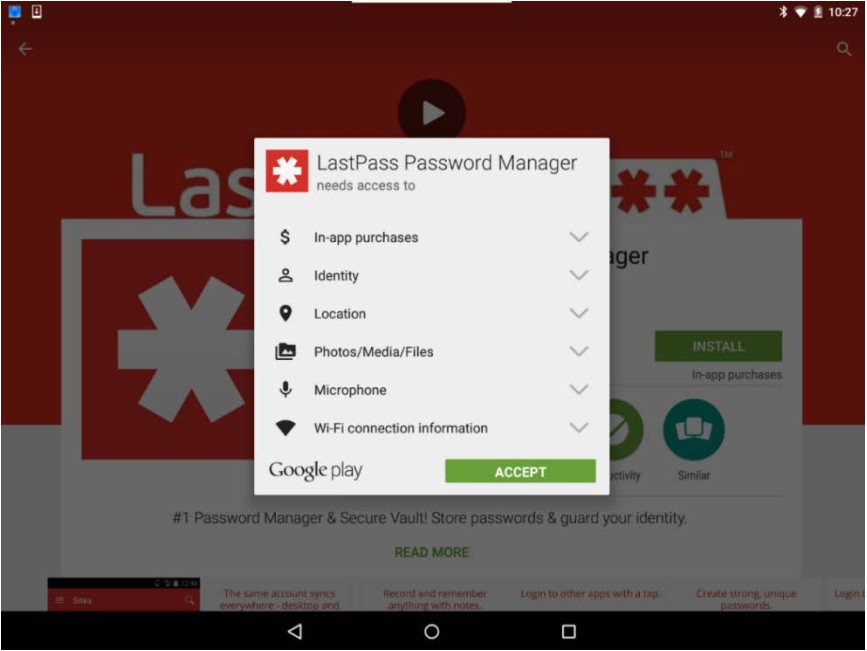
e. When the installation process finishes, the app is installed and available under All Apps.
Step 2: Uninstall Apps.
a. Navigate to the home screen. Touch the All Apps icon.
b. Touch and hold LastPass icon (i.e., the app you just installed in the previous step.)
c. An app menu appears. Drag the LastPass icon to the Uninstall link.
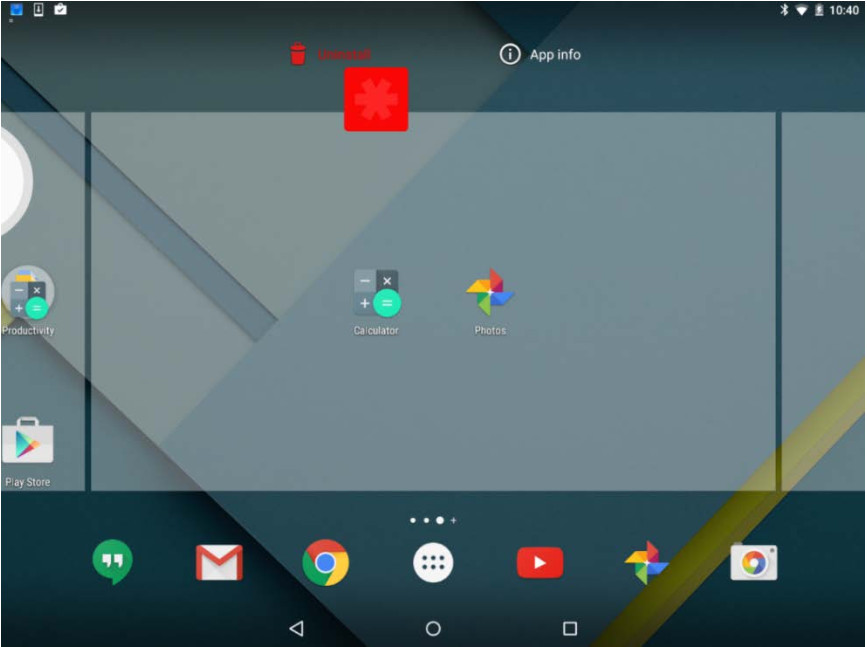
d. Confirm you want to uninstall LastPass by touching OK.
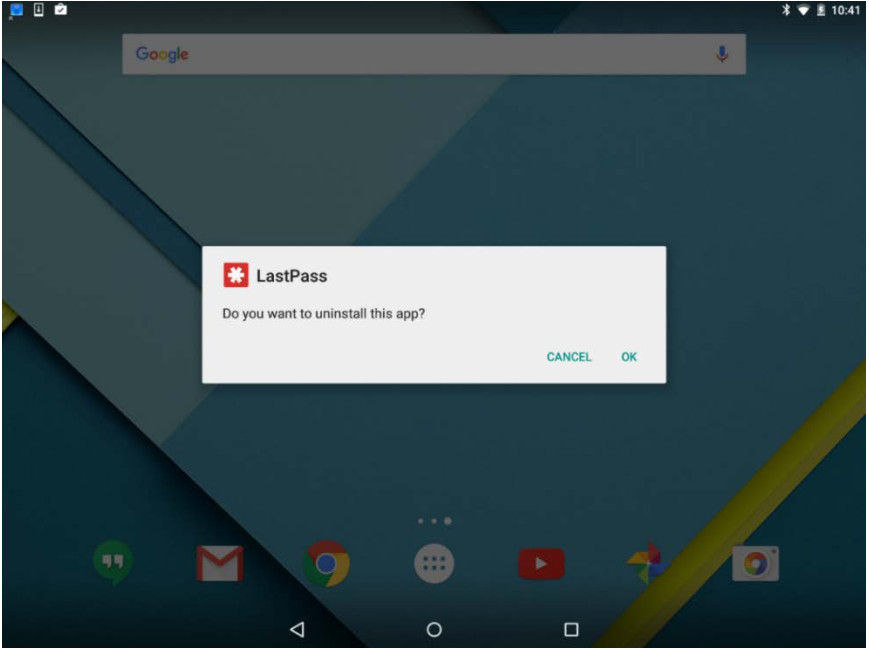
e. The app is now uninstalled from the device.
