6.3.1.7 Lab – System Restore in Windows 8 (Answers)
Introduction
In this lab, you will create a restore point and use it to restore your computer.
Recommended Equipment
- A computer running Windows 8
Step 1: Create a restore point.
a. Click Control Panel > Recovery
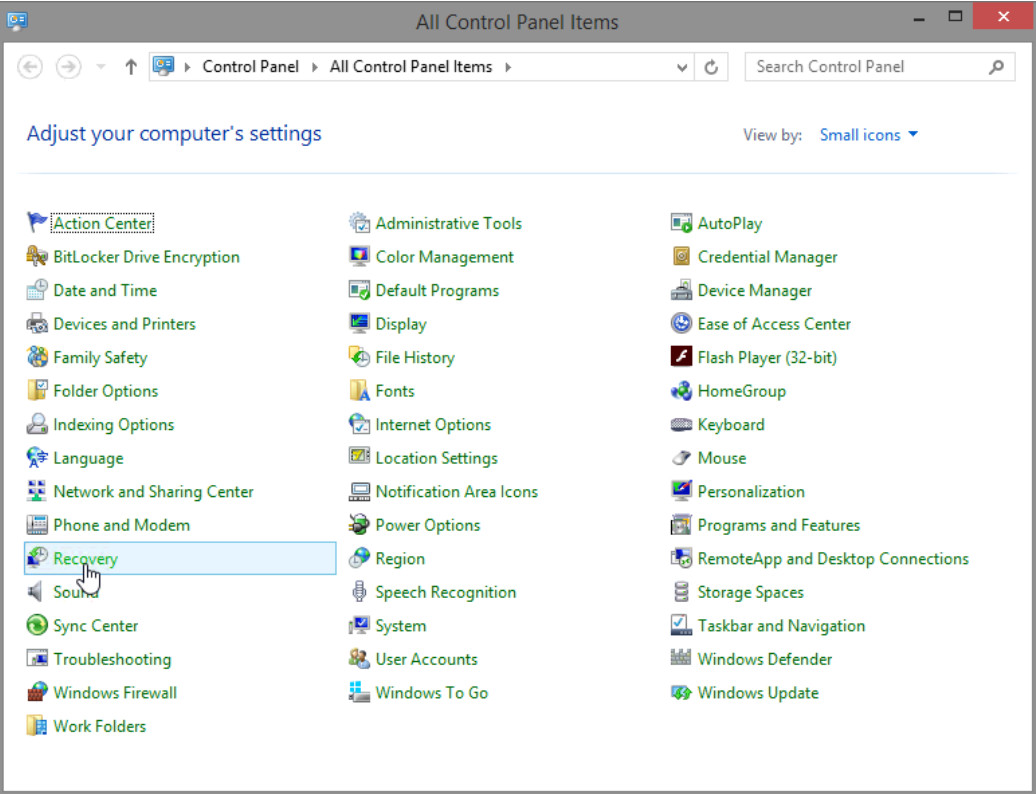
b. Select Configure System Restore in the Recovery window.
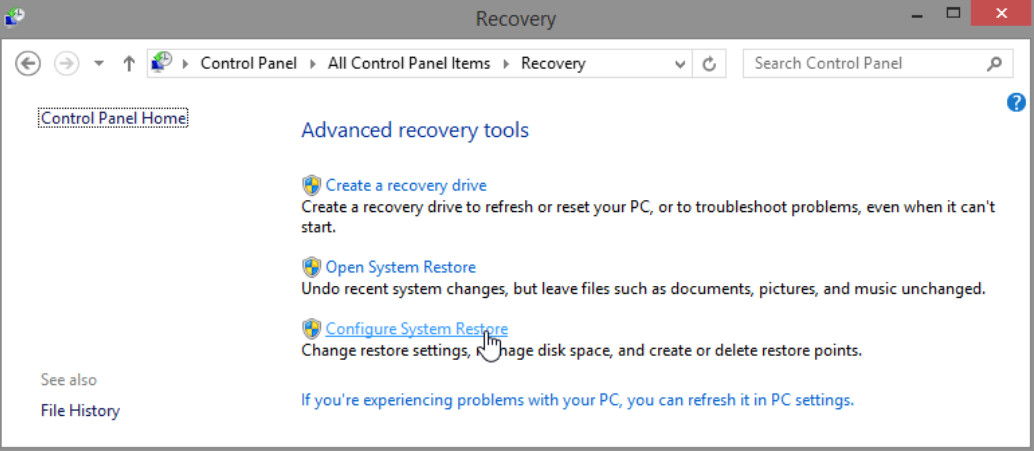
c. Click the System Protection tab in the System Properties window and then click Create.
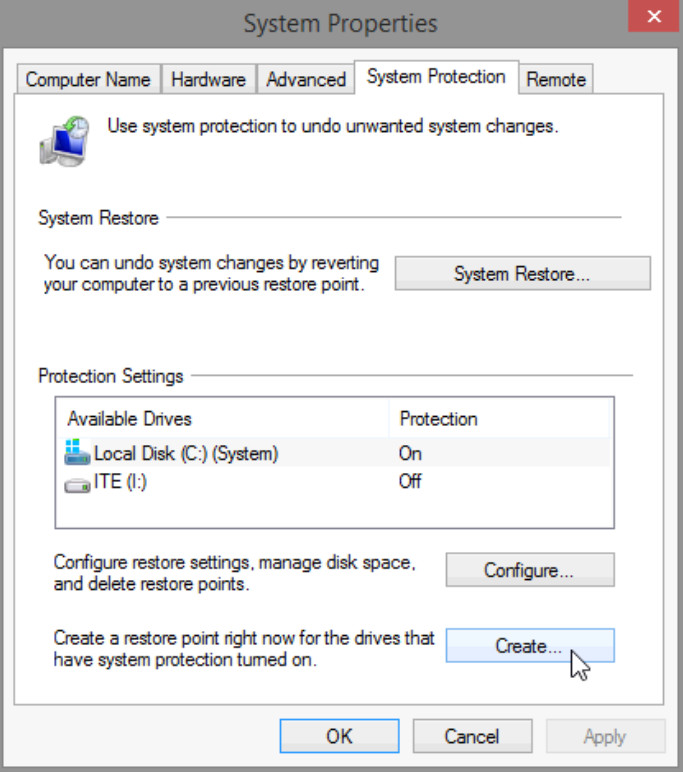
d. In the Create a restore point description field of the System Protection window, type Application Installed. Click Create.
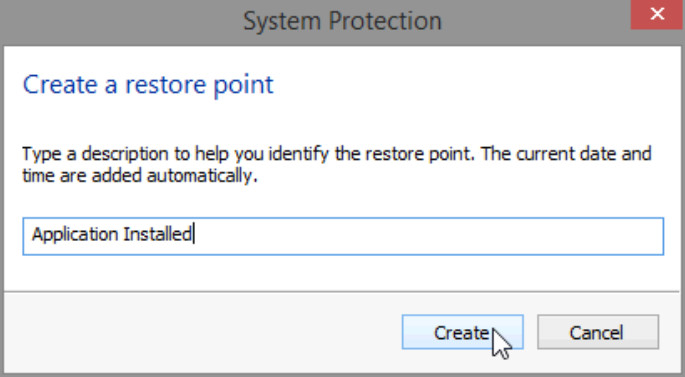
e. You will be notified in the Systems Protection window when the restore point has been created successfully. Once this message appears, click Close.

f. Click OK to close the System Properties window.
Step 2: Work in the System Restore utility.
a. In the Recovery window, click Open System Restore.
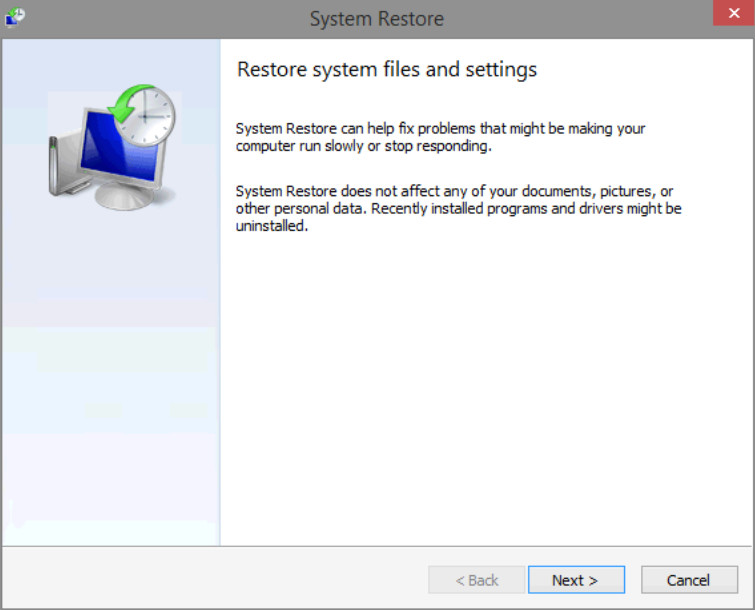
b. The System Restore window opens, click Next.
c. A list of restore points is displayed in the System Restore window.
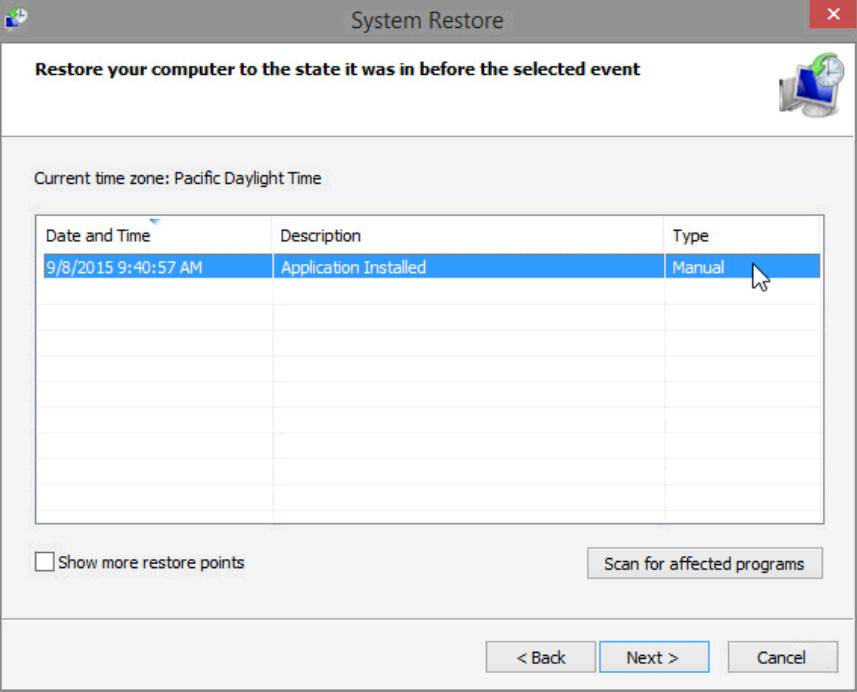
What type of restore point did you create in step 1?
A manual restore point.
d. Close all open windows.
Step 3: Make changes to your computer.
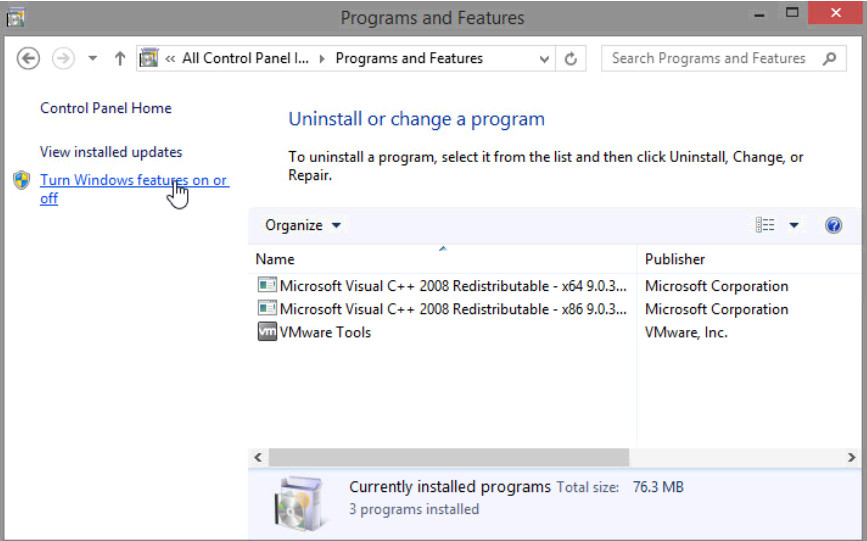
a. Click Control Panel > Programs and Features > Turn Windows features on or off.
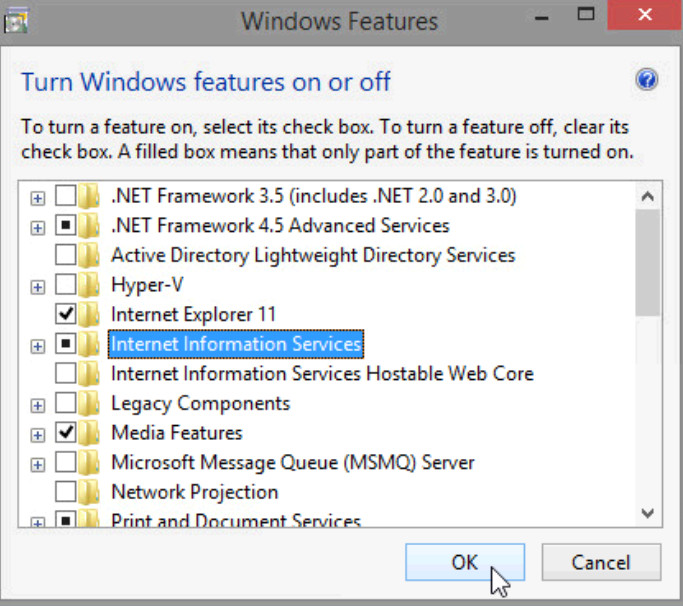
b. The Windows Features window opens. Click the Internet Information Services checkbox, and click OK
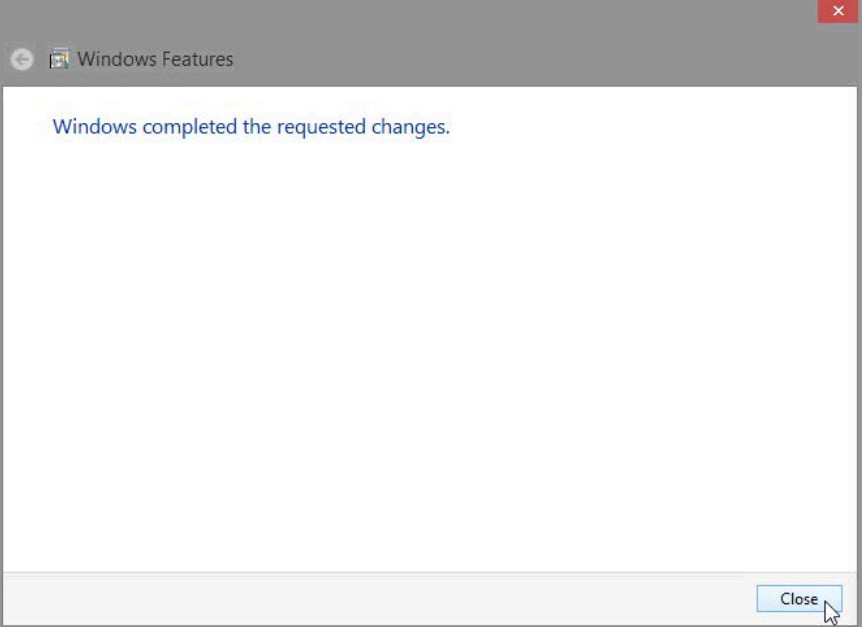
c. The Windows Features window opens with a Applying Changes message. When the message displays Windows completed the requested changes, click Close.
d. Close all remaining open windows.
Step 4: Open the Windows Explorer browser to display the default localhost page.
a. Open Internet Explorer, type http://localhost, and press Enter. The IIS default page will open.

Note: The IIS initial page on Windows 8.0 appears differently than the example.
b. Close the browser.
Step 5: Create a new document and store it in the Documents folder.
a. To open the Notepad application, click Start, type notepad, and press Enter.
b. In the Untitled – Notepad window, type This is a test for a Restore Point, then click File > Save As….
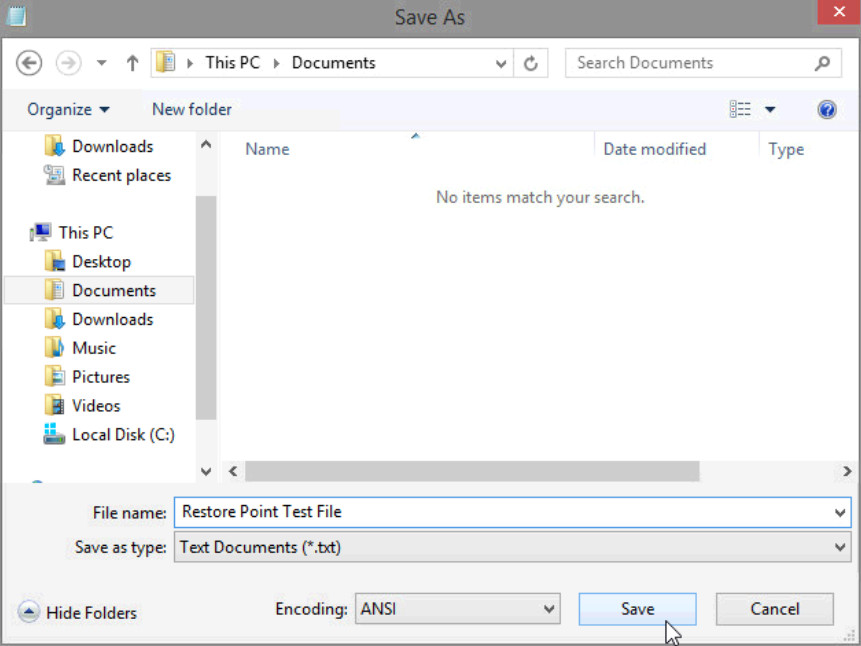
c. In the Save As window, click Documents and type Restore Point Test file in the File Name: field. Click Save.
d. Close Notepad.
Step 6: Verify that you successfully installed the IIS service.
a. Click Control Panel > Administrative Tools > Internet Information Services (IIS) Manager.
b. If the Internet Information Services (IIS) Manager window opens asking Do you want to get started with Microsoft Web Platform to stay connected with latest Web Platform Components? Click No.
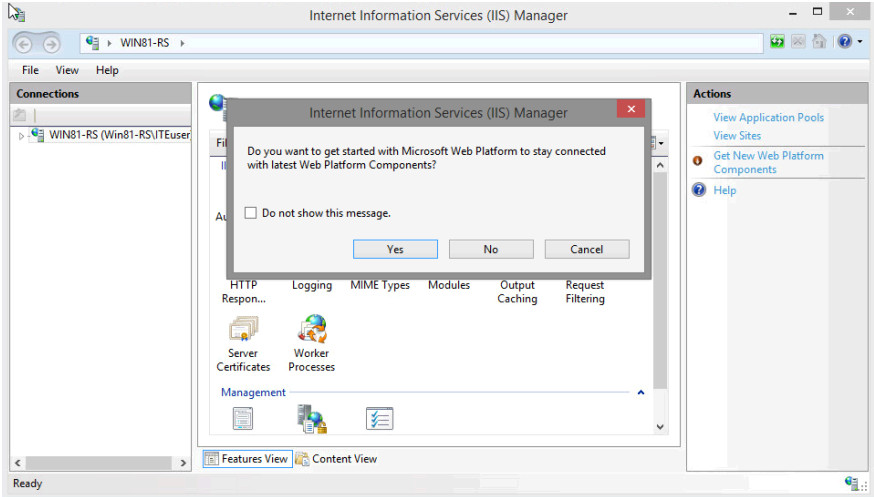
Note: Being able to open Internet Information Services (IIS) Manager window verifies that the IIS Server is installed on the computer.
c. Close all open windows.
Step 7: Restore the computer back to the restore point you created in step 1.
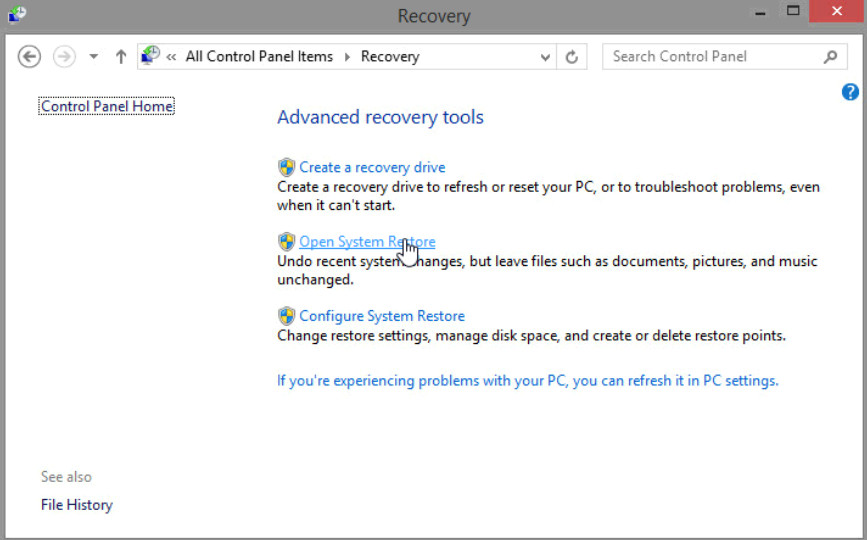
a. Click Control Panel > Recovery > Open System Restore.
b. In the System Restore window, select the Application Installed restore point that was created in step 1 and click Next.
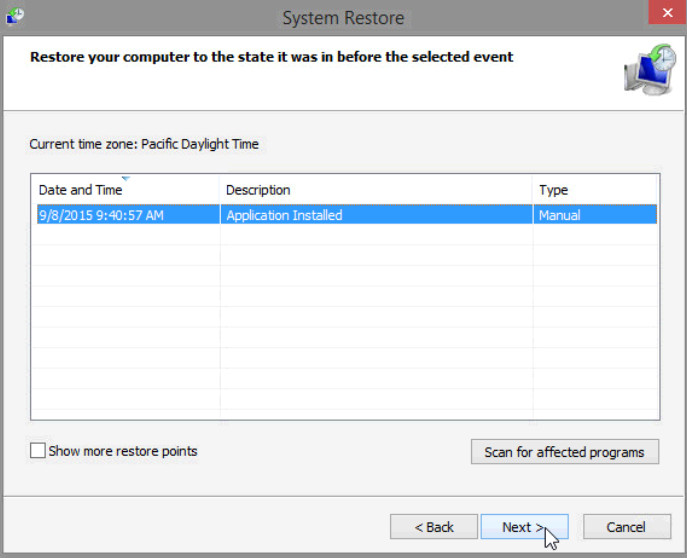
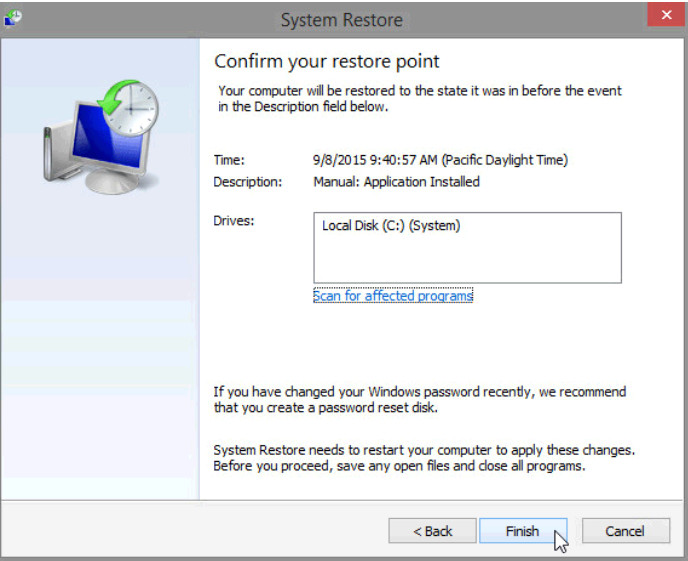
c. The Confirm your restore point window opens. Click Finish.
d. A warning message window opens telling you that the System Restore process should not be interrupted once it begins, and asks if you want to continue. Click Yes to start the system restore process.
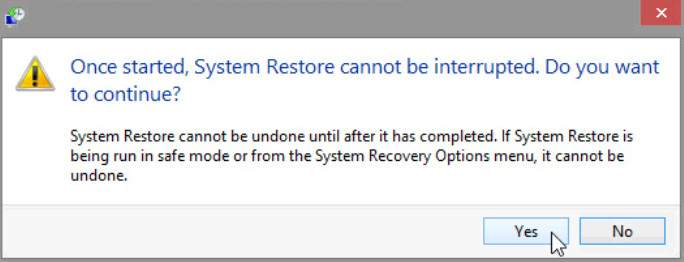
Note: Windows will restart the computer to complete the System Restore process.
Step 8: Verify that the System Restore process completed successfully.
The operating system restores to the point before the IIS application was installed. This can take several minutes to complete.
a. Logon to the computer if required.
b. The System Restore window opens informing you that the System Restore completed successfully. Click Close.
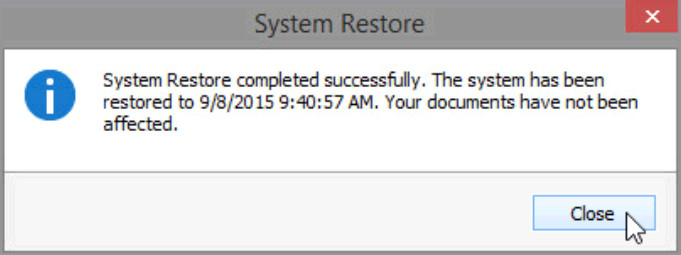
Note: You may need to click the desktop tile after Windows 8.0 reboots to see the System Restore completed successfully message.
c. From the Control Panel, click Administrative Tools.
Is the IIS Manager application listed?
No, IIS Manager is no longer available.
d. Open the Internet Explorer browser, type http://localhost and press Enter.
Did the IIS Server page display?
No, the IIS server is no longer installed on the computer.
e. Close Internet Explorer.
f. Open File Explorer, and navigate to the Documents folder
Is the Restore Point Test File.txt in this folder? If so, are the contents the same in this document? Why?
Yes, the txt document should be in the Documents folder and it should still contain the sentence that was saved in step 5. The system restore process does not affect user documents.
g. Close all open windows.
Reflection
When would be a good time to create a manual restore point? Why?
Answers will vary. A good time to create a restore point is before installing new software to the computer. If the software has an adverse effect on the computer, you can use System Restore to revert back to the way it was before installing the software without losing any changes to documents made after the restore point was created.
