3.3.2 Packet Tracer – Network Representations Answers
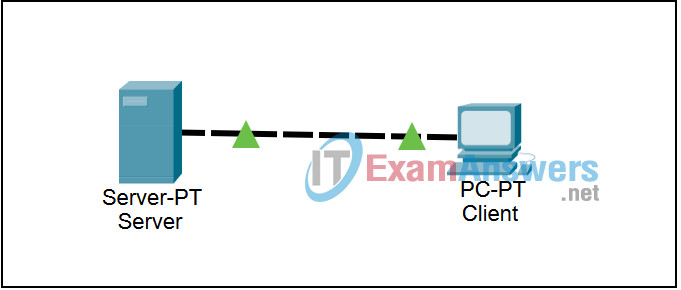
Topology

Addressing Table:
This Lab does not include an Addressing Table.
Learning Objectives:
- Configure services and support
- Configure DNS and HTTP on a server
- Configure DNS support on a PC
- Verify Connectivity in Realtime Mode
- View how DNS and HTTP work together using Simulation Mode
Introduction:
In this activity, you will configure a Server to provide DNS services and to host a web page, configure a PC to use DNS services, and view how DNS and HTTP work together.
Task 1: Configure services and support
Step 1. Configure DNS on the Server.
Click the Server. The server configuration window opens, Click the Config tab. The Global Settings appear. Click the button on the left for DNS. Verify the service is On. Set the Domain Name to www.example.com and the IP Address to 192.168.1.254. Click the Add button. Additional domain names can be added in this fashion.
Step 2. Configure HTTP on the Server.
Click the button to select HTTP. Turn the service On. The Default Page Content window contains the page that is displayed when a web page is requested from the server. This page is in HTML format. This page can be changed if you would like to customize it. Close the server configuration window.
Step 3. Configure DNS support on the PC labeled Client
Click the PC Client. The PC configuration window opens, Click the Config tab. The Global Settings appear. Set the DNS Server to 192.168.1.254, the IP address on the Server. Close the PC configuration window.
Task 2: Verify Connectivity in Realtime Mode
Step 1. Ping the server using the URL.
Select the PC and click the Desktop tab. Click the Command Prompt button. A Command Prompt window opens. Type ping www.example.com (the URL of the Server) and press Enter. After the ping succeeds, close the Command Prompt window.
Step 2. From the PC, Open a Web Page.
From the PC desktop, click the Web Browser button. A simulated web browser opens. Type www.example.com (the URL of the Server) into the URL box and click the Go button. A web page should appear. Close the PC configuration window.
Task 3: View how DNS and HTTP work Together using Simulation Mode
Step 1. From the PC, ping the Server using the URL
Enter Simulation mode. Click the PC Client. The PC configuration window opens. Click the Desktop tab. Click the Command Prompt button. A Command Prompt window opens. Type ping www.example.com (the URL of the Server) and press Enter. Minimize the simulated Command Prompt window. Use Capture/Forward to view the DNS and ICMP packets on the network. Each time you click the Capture/Forward button, the packet transfer process will proceed. During this process, you can click the colored square in the Info column to open the PDU information and view encapsulation and device processing details. Close the Command Prompt window; click the Reset Simulation button.
Step 2. From the PC, open a web page on the Server using the URL
Click the Web Browser button. A simulated web browser opens. Type www.example.com (the URL of the Server) into the URL box and click the Go button. Minimize the simulated browser window. Use Capture/Forward to examine the DNS and HTTP packets. For each packet in the event list, click the colored square in the Info column to open the PDU information and view encapsulation and device processing details.
