Configuring etherchannel on a Cisco switch.
Etherchannel is the port link aggregation technology invented by a company named Kalpana. This company was acquired by Cisco systems in 1994. Etherchannel allows us to group several (practically eight) physical Ethernet links on a Cisco switch into one logical link.
Advantages of etherchannel include increased bandwidth and fault tolerance. For example, when we group eight physical ports into one logical port, considering bandwidth of each port is 100 Mbps, the combined bandwidth is 800 Mbps. What if one of the port fails?. Well the rest of the ports take over thus preventing any failure. Let’ see it a little bit practically.
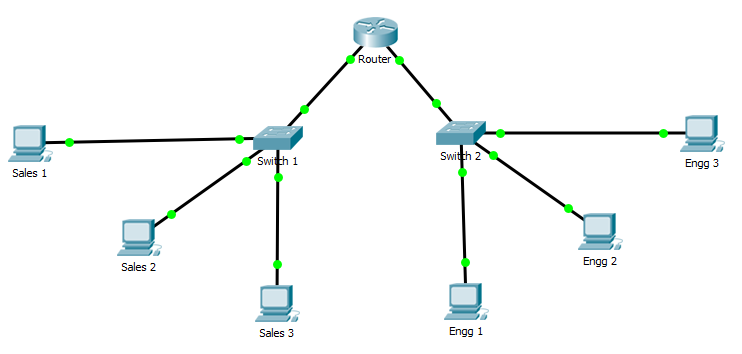
Imagine we have a network as shown below. There are two separate departments named Sales and Engineering in a company which are connected through a router.

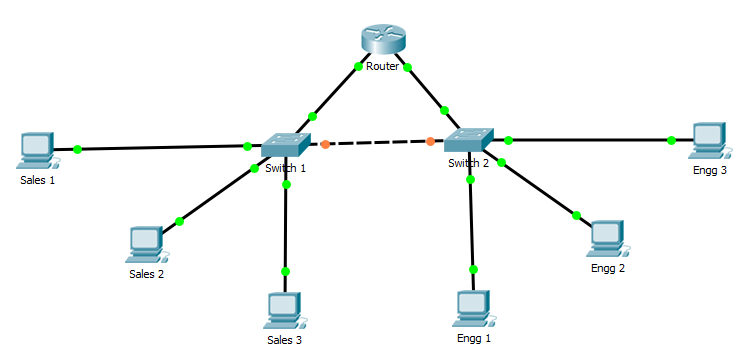
There comes a time when the traffic between these two significant departments becomes so intense that the network administrator decides to interconnect the two switches of the respective departments as shown below so that the traffic doesn’t disturb the router. (CCNA guys, always remember that switches are interconnected using crossover cables only).

Considering the importance of the two departments, the network administrator decides not only to provide additional bandwidth but also provide fault tolerance between the departments. Etherchannel satisfies both these requirements.
Now let’s see how to configure etherchannel. To configure etherchannel, login to SWITCH1.
– Enter global configuration mode by typing command config t.
– Type the command interface port-channel 1 to create etherchannel port trunk.
– Type command interface range fastethernet 0/1-8 to select eight interfaces to assign to our etherchannel port trunk.
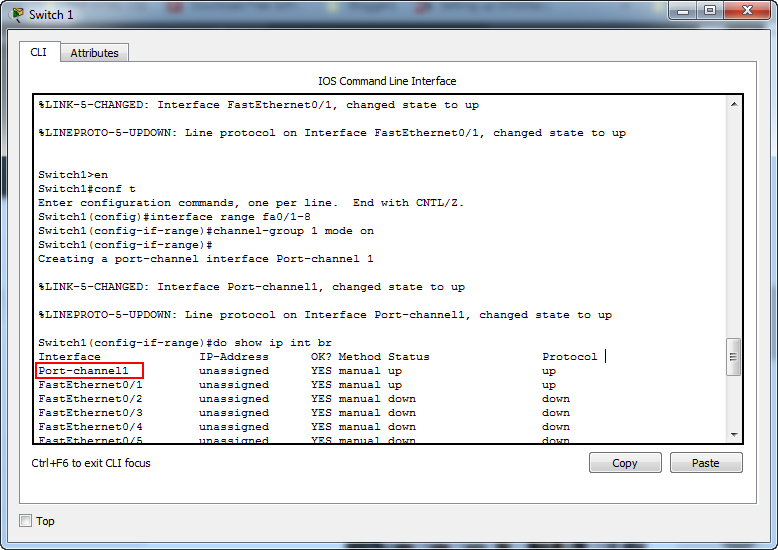
– Type command "channel-group 1 mode on" to assign the interfaces to the etherchannel port trunk.

We can see below that we have successfully configured etherchannel on our switch.
Now let’s configure VLAN trunk over the etherchannel logical port trunk.
– Type command interface port-channel 1 to select the etherchannel port.
– Type command switchport mode trunk to set etherchannel port as trunk port.
![]()
