Packet Tracer – Monitor Your Network Using a Network Controller (Instructor Version)
Topology
Objectives
A network controller allows you to manage, monitor, and configure supported network devices via a graphical user interface (GUI) and APIs.
Note: The use of APIs is beyond the scope of this activity. For more information, review the API documents using the Help menu in Packet Tracer.
In this activity, you will set up a network controller to monitor a configured network via the GUI.
Part 1: Implement a Network Controller
Part 2: Monitor the Network
Required Resources
- Latest Packet Tracer version
Instructions
Part 1: Implement a Network Controller
Step 1: Connect a Network Controller to Office-SW1.
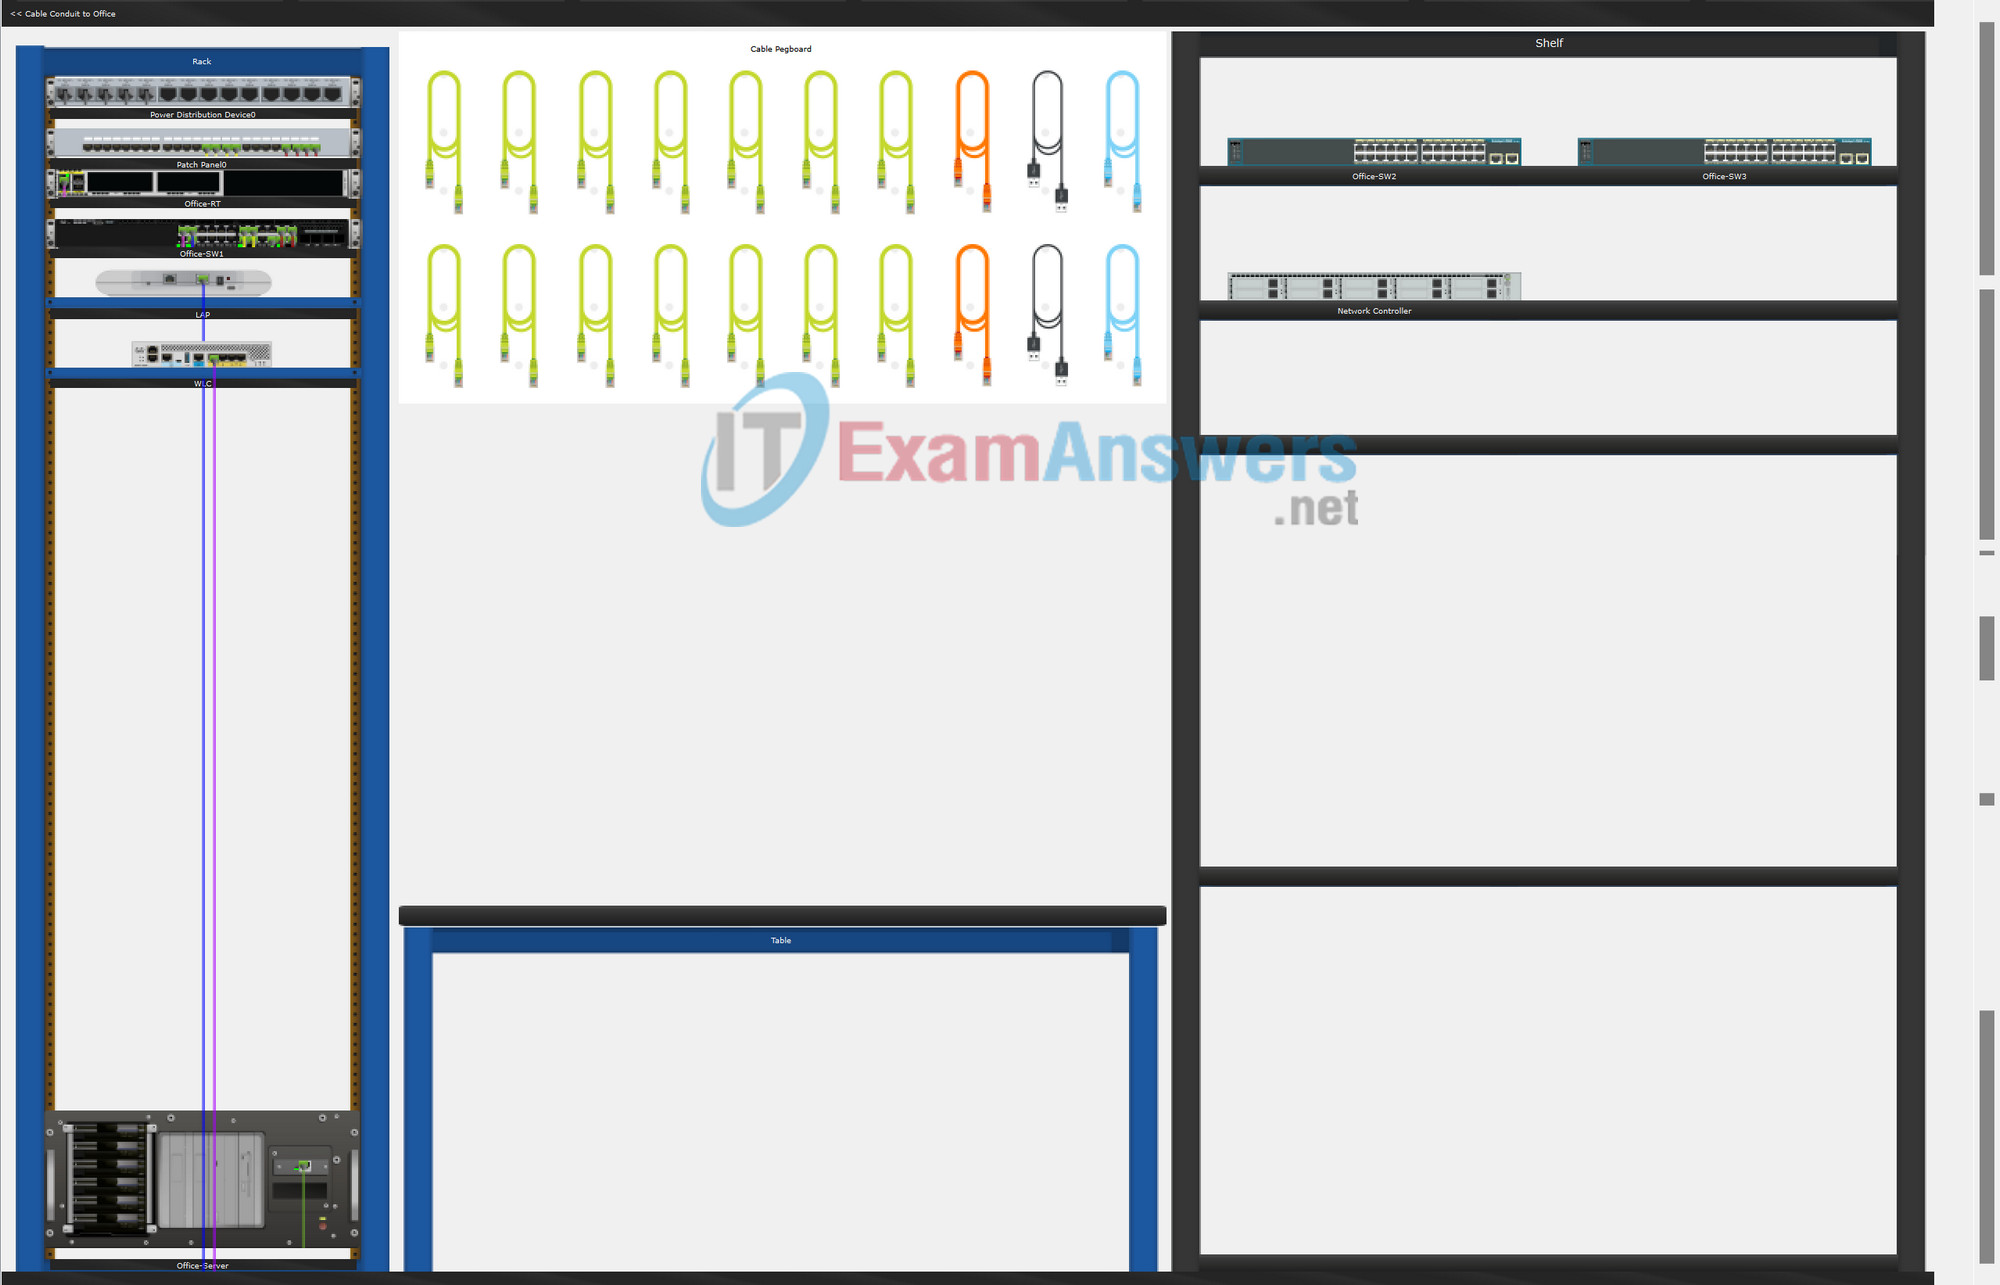
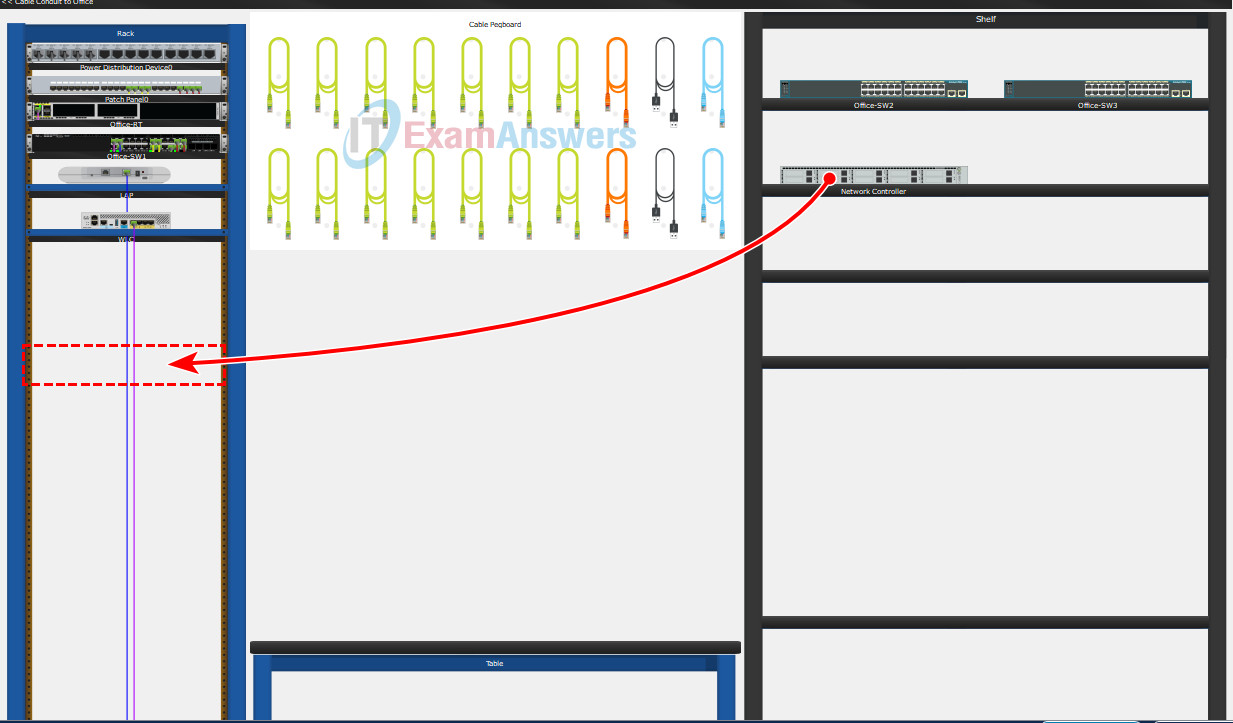
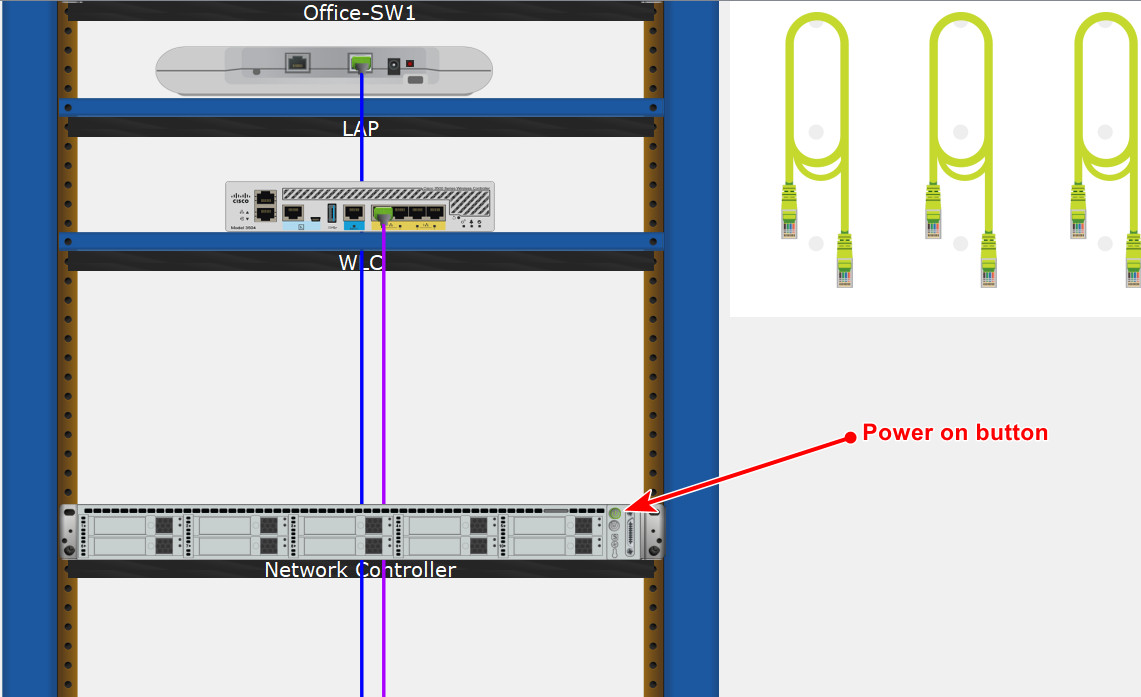
a. While in the Wiring Closet, a previously configured Network Controller is located on the Shelf for your use. Move the Network Controller from the Shelf to the Rack and power on the Network Controller as necessary.
b. Right-click the Network Controller and click Inspect Rear to locate the GigabitEthernet0 port. Connect the GigabitEthernet0 port on the Network Controller to the GigabitEthernet 1/0/19 port on Office-SW1 via a Copper Straight-Through cable.
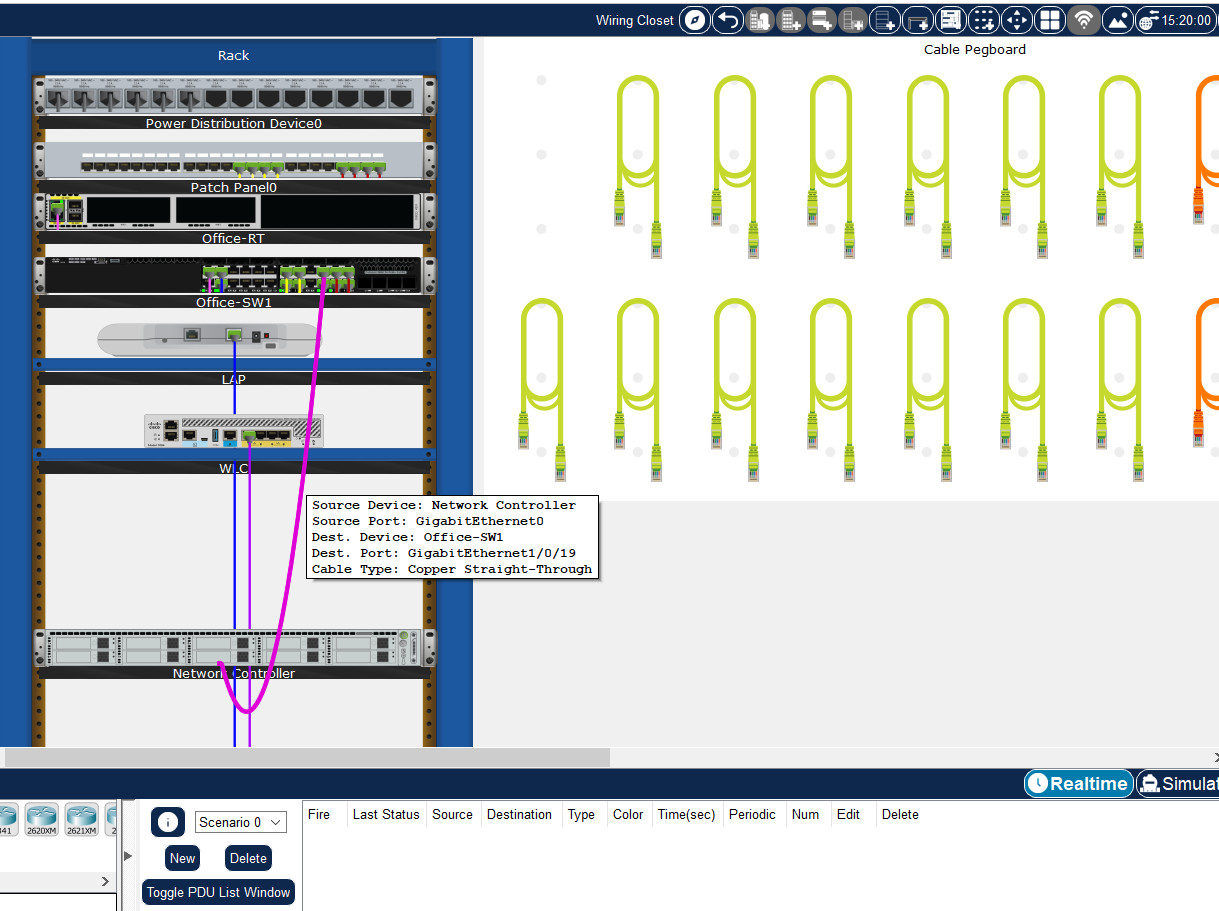
The Network Controller has been previously assigned 192.168.20.5 as the IP address.
Step 2: Verify connectivity.
a. To exit the Wiring Closet, click Back level (Alt-Left).
b. From Office-Admin, ping the Network Controller.
1) Click Office-Admin and select Desktop > Command Prompt.
2) At the prompt, enter ipconfig to verify that Office-Admin has received an IP address from the DHCP server. The IP address should be in the form of 192.168.20.x, where x can range from 10 to 20.
C:\> ipconfig

FastEthernet0 Connection:(default port)

 Connection-specific DNS Suffix..:
 Link-local IPv6 Address.........: FE80::20C:CFFF:FE46:E938
 IPv6 Address....................: ::
 IPv4 Address....................: 192.168.20.10
 Subnet Mask.....................: 255.255.255.128
 Default Gateway.................: ::
                                   192.168.20.1
Note: If you did not receive an IP address, exit the Command Prompt and click IP Configuration. Verify that the PC is set to receive addressing information from DHCP.
3) At the prompt, enter ping 192.168.20.5. The pings should be successful.
C:\> ping 192.168.20.5

Pinging 192.168.20.5 with 32 bytes of data:

Reply from 192.168.20.5: bytes=32 time<1ms TTL=128
Reply from 192.168.20.5: bytes=32 time<1ms TTL=128
Reply from 192.168.20.5: bytes=32 time<1ms TTL=128
Reply from 192.168.20.5: bytes=32 time<1ms TTL=128

Ping statistics for 192.168.20.5:
Packets: Sent = 4, Received = 4, Lost = 0 (0% loss),
Approximate round trip times in milli-seconds:
Minimum = 0ms, Maximum = 0ms, Average = 0ms
If the pings are not successful, verify that the correct ports are used for the connection, and the Network Controller is powered on.
c. Exit the Command Prompt when finished.
Part 2: Monitor the Network
Step 1: Access the Network Controller via the GUI.
a. From Office-Admin, open a web browser (click Desktop > Web Browser) and navigate to 192.168.20.5.
b. When prompted to login, enter admin as the username and Cisco123 as the password.
c. After you have logged in, you will be presented with the Dashboard view. When the Dashboard is refreshed, you will be provided information regarding the current state of the network. Explore the Dashboard menu located to the left of the Cisco logo.
What menu items do you see? Dashboard | Provisioning | Assurance | Policy | API Docs
Step 2: Document the network.
Now that you have explored some of the features of the Network Controller, you will use the Note feature in Packet Tracer to document the network devices in the Office network.
a. In the Network Controller, navigate to the NETWORK DEVICE screen. (Click Dashboard menu > Provisioning > NETWORK DEVICE)
b. Click Place Note to document the network devices listed from the NETWORK DEVICE screen. Place the note in the white space next to the Office background. For example, this info should be part of the note:
Office-SW1: 192.168.20.4
Step 3: Discover new devices in the Office network.
In this step, you will connect a wireless devices to the Office wireless network and observe the changes in the hosts listing.
a. From the web browser for Office-Admin, navigate to the Network Controller if necessary.
b. Navigate to the HOSTS screen. (Click Dashboard menu > Assurance > HOSTS). Note the host list.
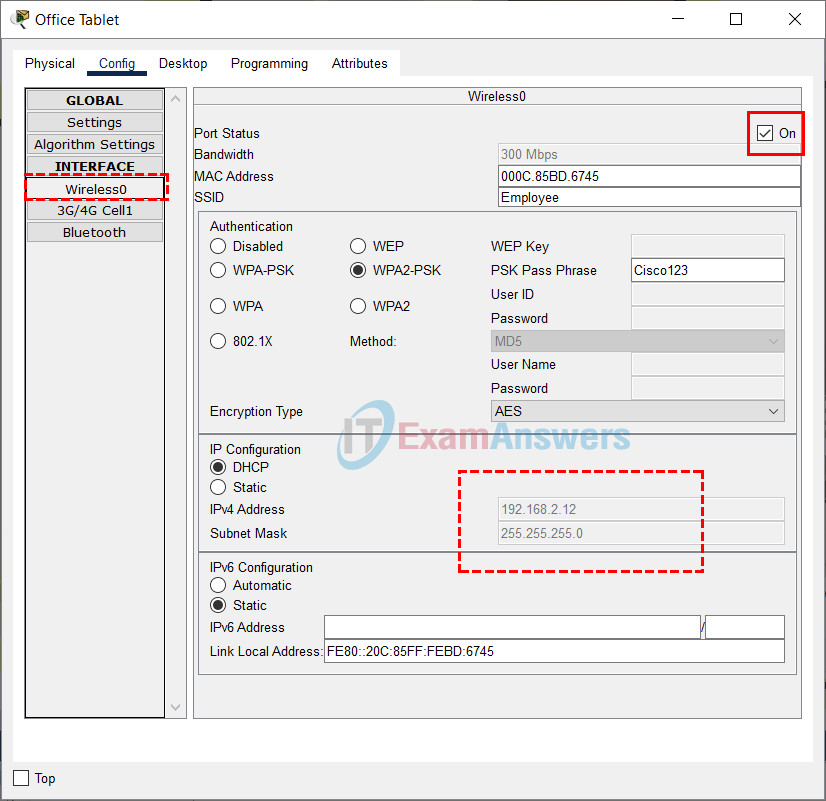
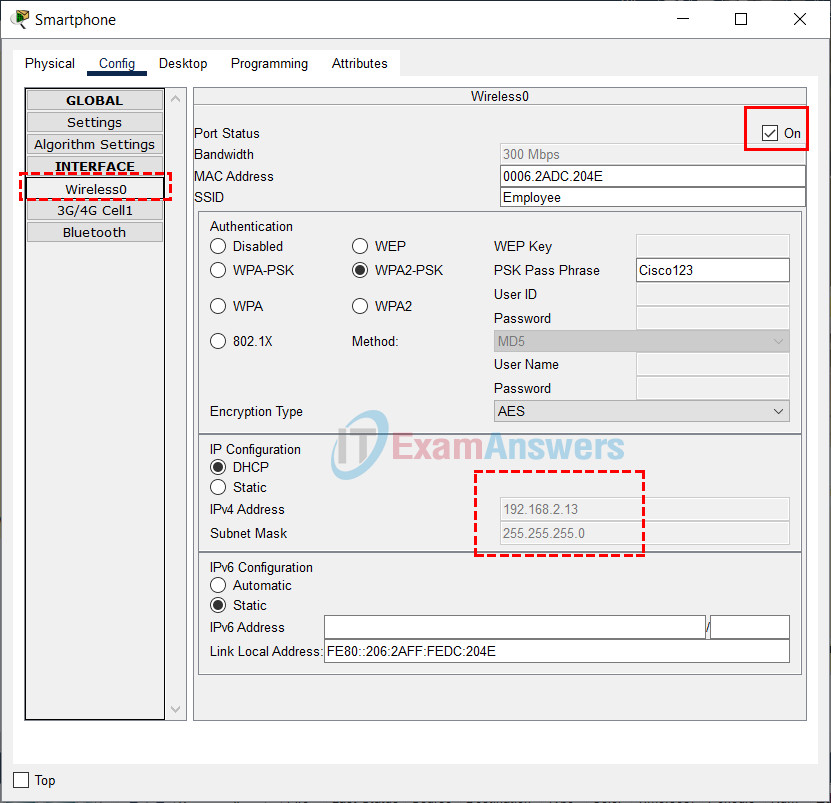
c. Connect the Office Tablet and Smartphone to the wireless network. For each device, click the Config tab, select Wireless0 in the left pane, and select ON for the Port Status. Verify the devices receive an IP address from the DHCP server. The IP addresses will be from the 192.168.2.x /24 network, where x is ranged between 11 to 254. You can click Fast Forward Time (Alt + D) to speed up the process.
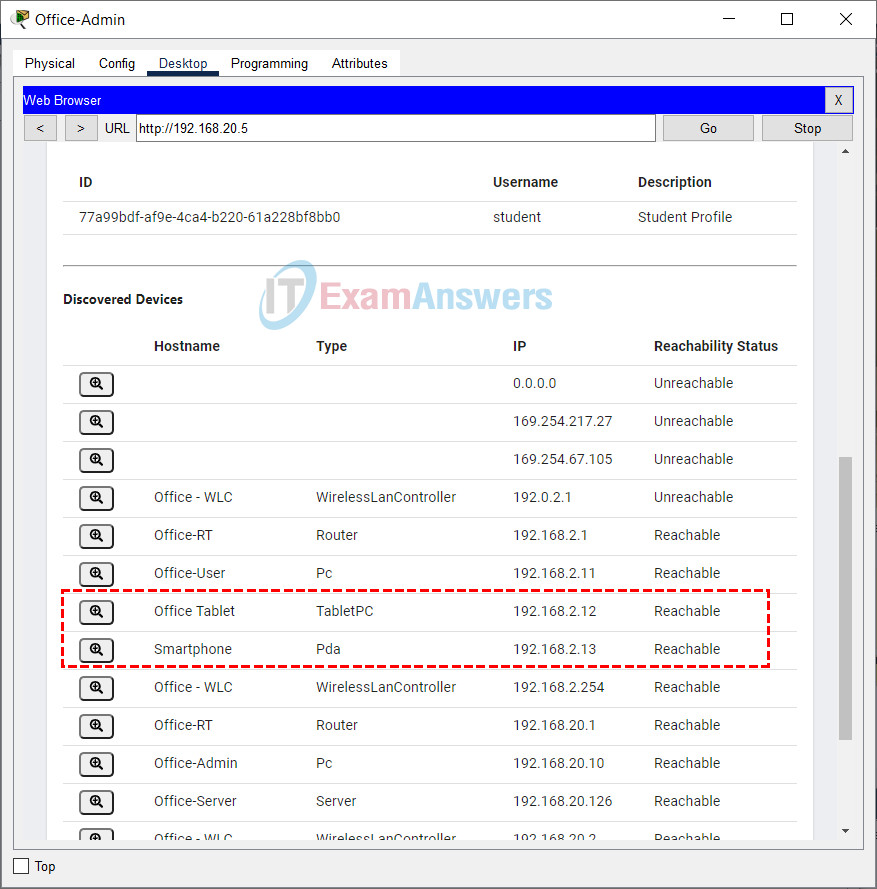
d. On the Network Controller, navigate to the DISCOVERY screen. (Click Dashboard menu > Provisioning > DISCOVERY) Select the already configured Discovery process named Office LAN. Click START to run the discovery process. When the discovery process is finished, the newly connected Office-Tablet and Smartphone are displayed in the Discovered Devices list.
e. Return to the HOSTS screen. Note the newly discovered hosts.
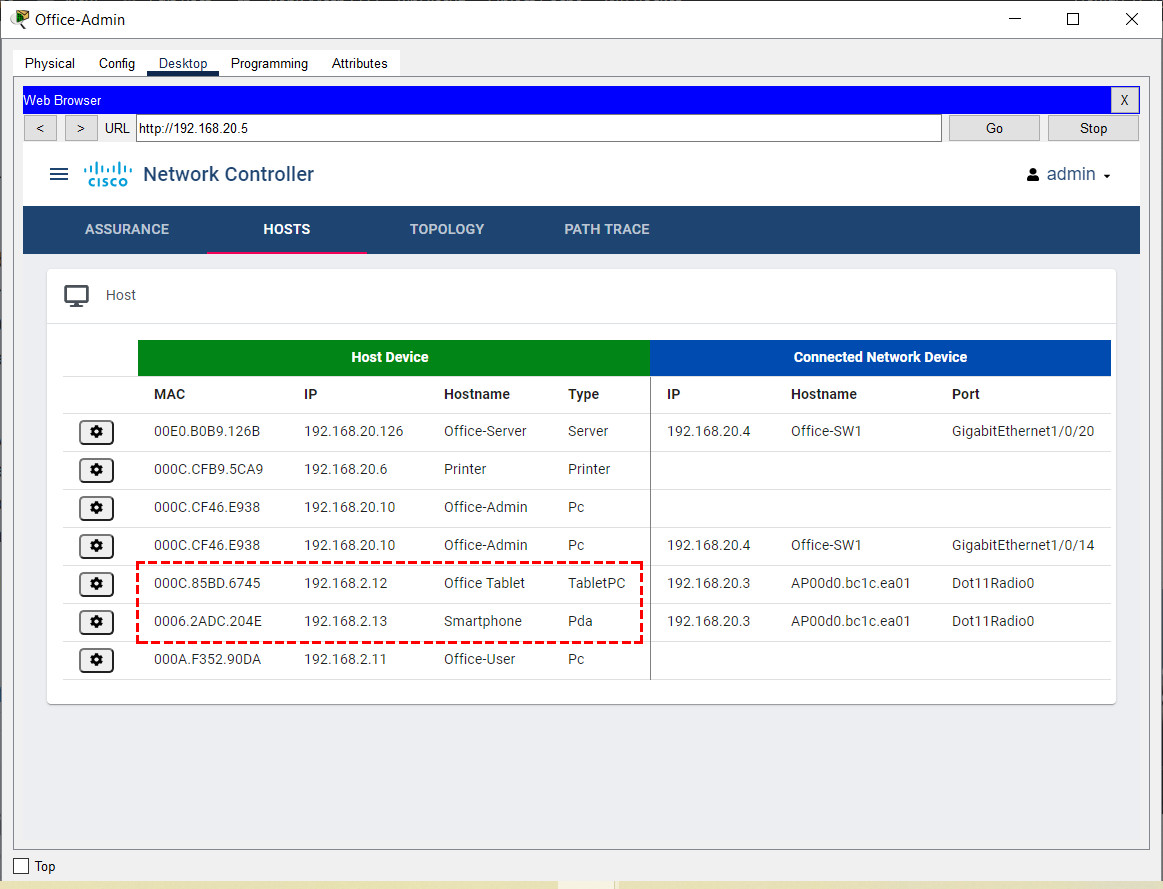
What IP addresses are assigned to Office-Tablet and Smartphone?
- Office-Tablet IP address: 192.168.2.12
- Smartphone IP address: 192.168.2.13
